This document provides step-by-step instructions for setting up Active Directory Federation Services (ADFS) to provide Single Sign-On end user access to the Retarus EAS Portal.
AD FS Configuration
The AD FS 2.0 console is installed automatically when you install AD FS 2.0.
→ Start the AD FS 2.0 snap-in:
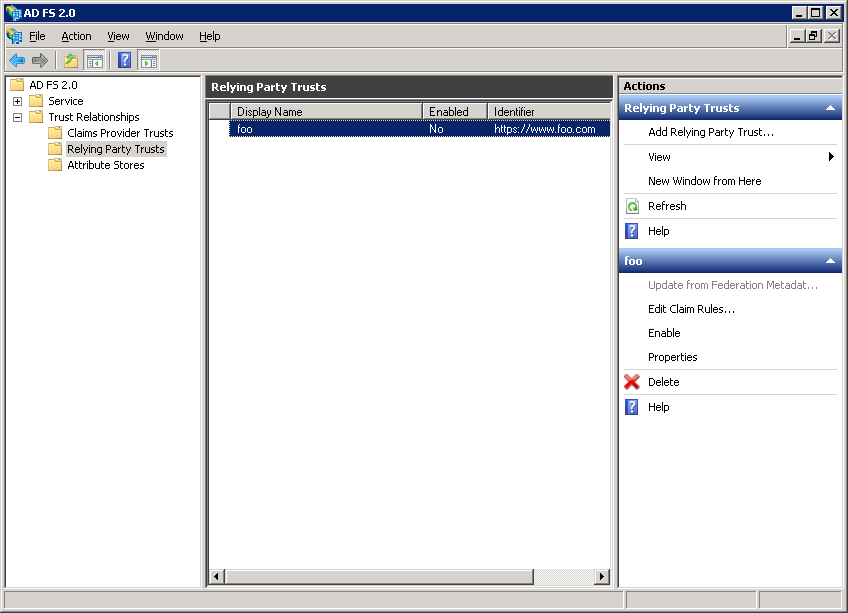
→ Select Add Relying Party Trusts.
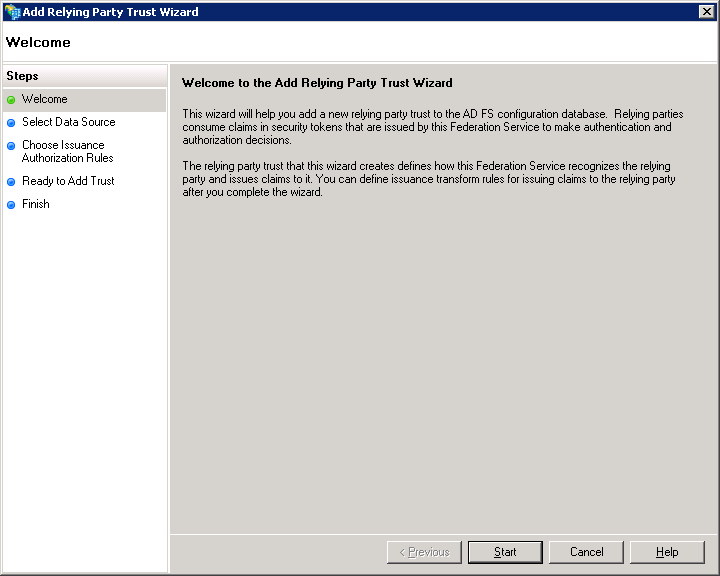
→ In the wizard that opens, click on Start:
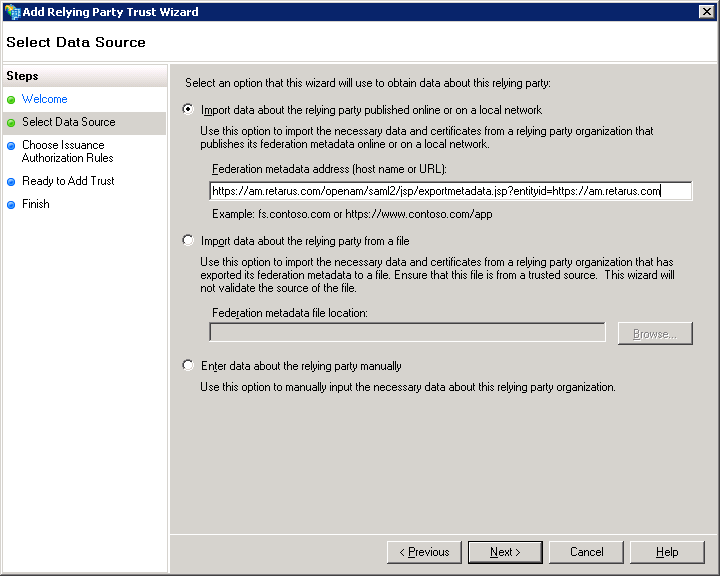
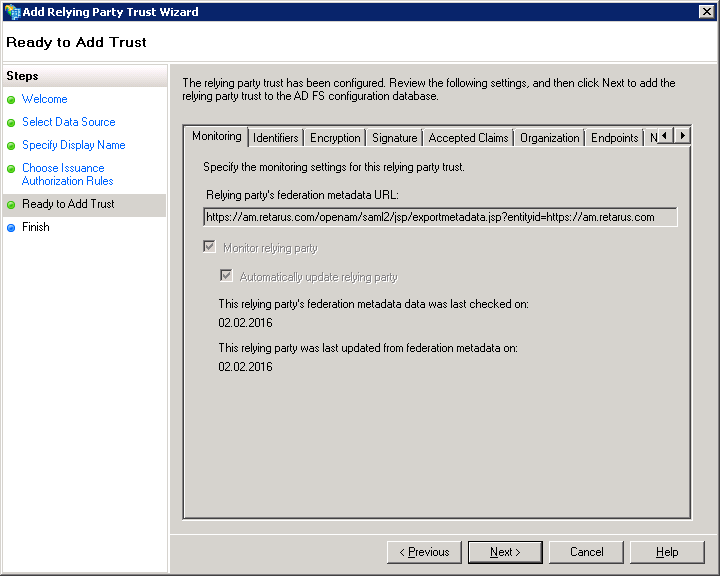
→ Select Import data about the relying party published online or on a local network to obtain the data online. The Retarus SP SAML URL is:
https://am.retarus.com/openam/saml2/jsp/exportmetadata.jsp?entityid=https://am.retarus.com
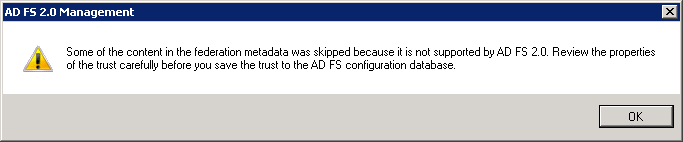
→ Ignore the following warning and click on OK to continue:
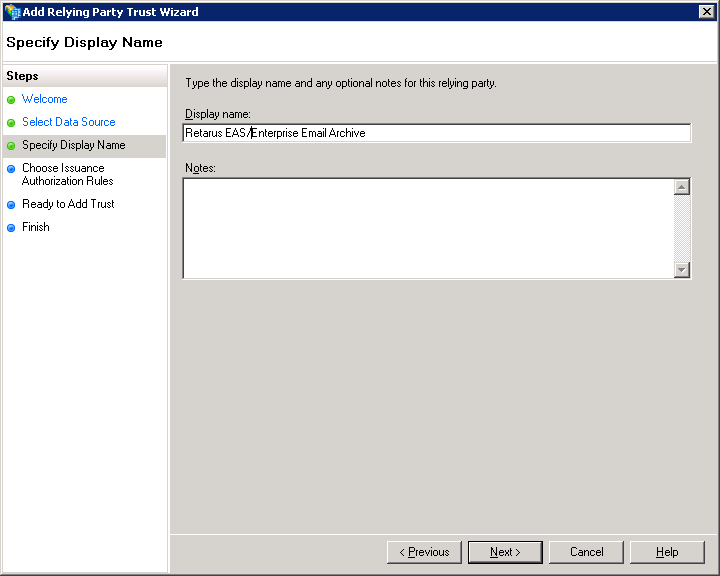
→ Enter a display name of your choice for this relying party entry in your ADFS (e.g., Retarus Enterprise Email Archive). You can also provide a description.
→ Select Permit all users to access this relying party.
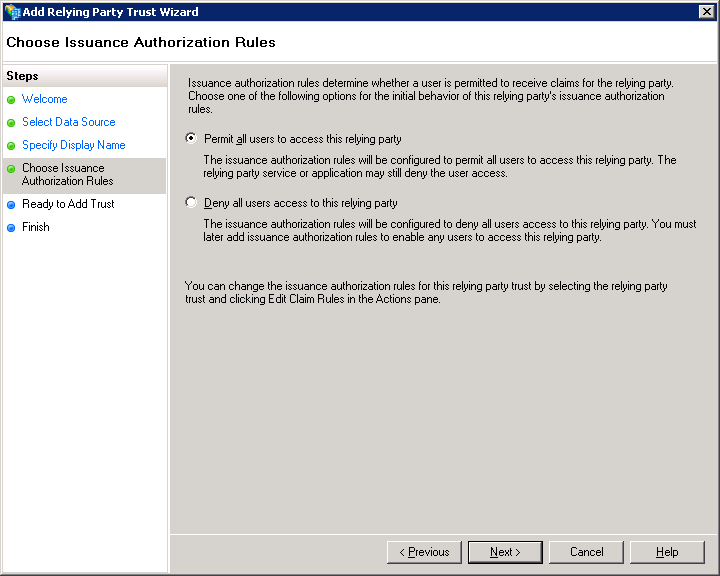
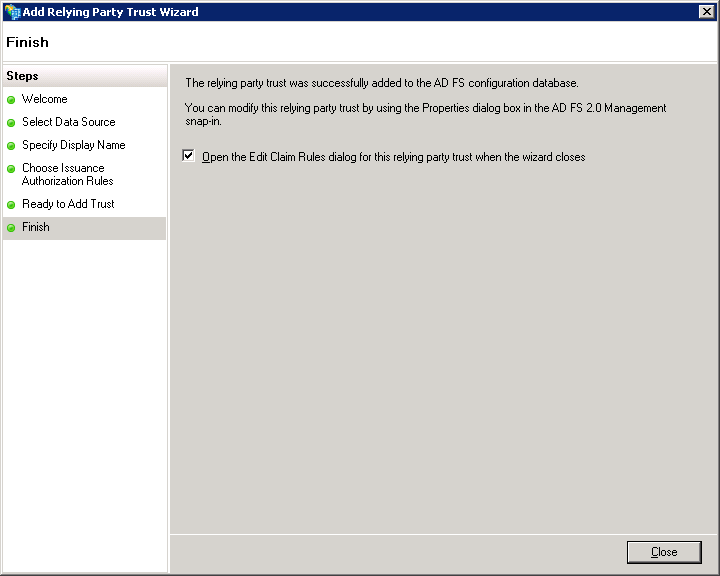
→ You can leave the checkbox selected because you’ll have to enter claim rules to complete the ADFS SP configuration in order to access the Retarus EAS portal
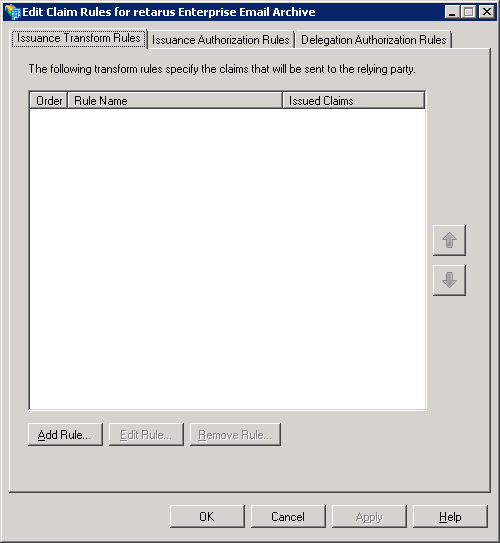
→ Select Add Rule to send the NameID as a transient value using an “anonymous” value from AD, e.g., Primary SID.
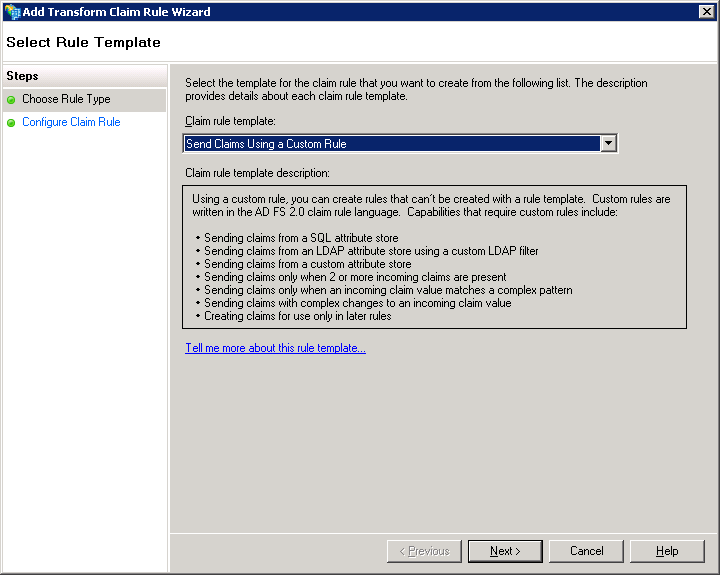
→ Select Send Claims Using a Custom Rule from the drop-down menu.
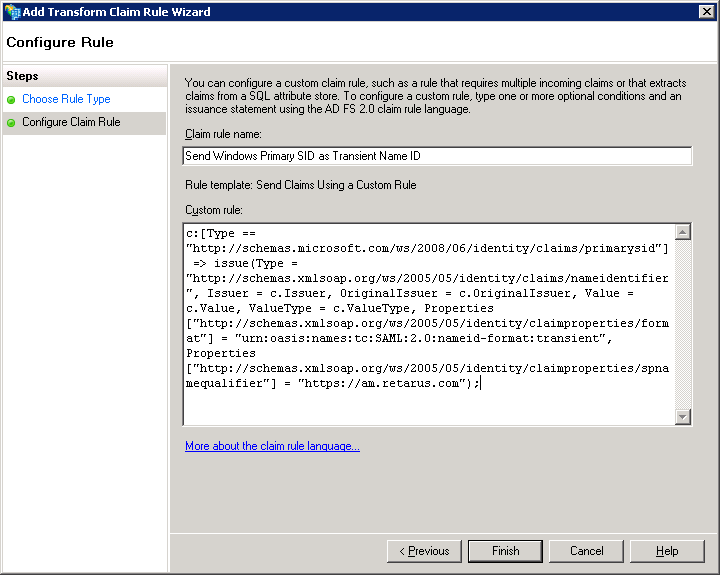
→ Enter a name of your choice for the rule (e.g., Send Windows Primary SID as the transient Name ID).
→ Enter the following custom rule into the field:
c:[Type == "http://schemas.microsoft.com/ws/2008/06/identity/claims/primarysid"] => issue(Type = "http://schemas.xmlsoap.org/ws/2005/05/identity/claims/nameidentifier", Issuer = c.Issuer, OriginalIssuer = c.OriginalIssuer, Value = c.Value, ValueType = c.ValueType, Properties["http://schemas.xmlsoap.org/ws/2005/05/identity/claimproperties/format"] = "urn:oasis:names:tc:SAML:2.0:nameid-format:transient", Properties["http://schemas.xmlsoap.org/ws/2005/05/identity/claimproperties/spnamequalifier"] = "https://am.retarus.com");
→ Select Finish.
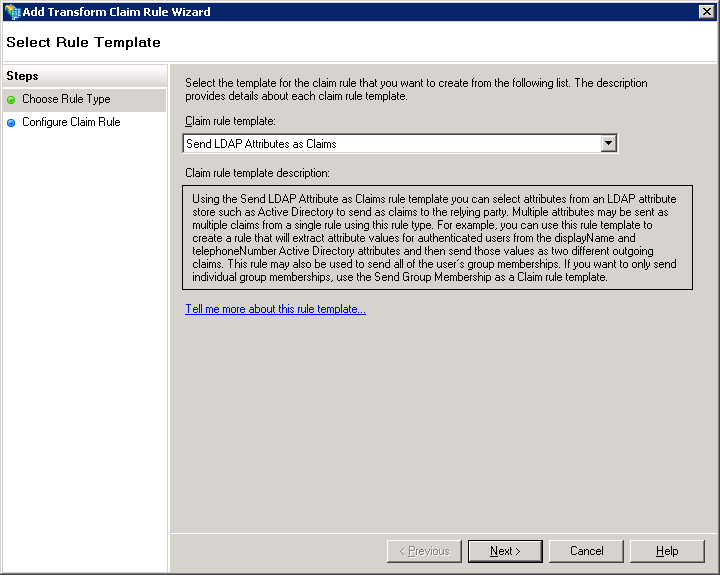
→ Add another rule in order to send the user’s email address as an attribute.
→ Select Send LDAP Attributes as Claims from the Claim rule template drop-down menu.
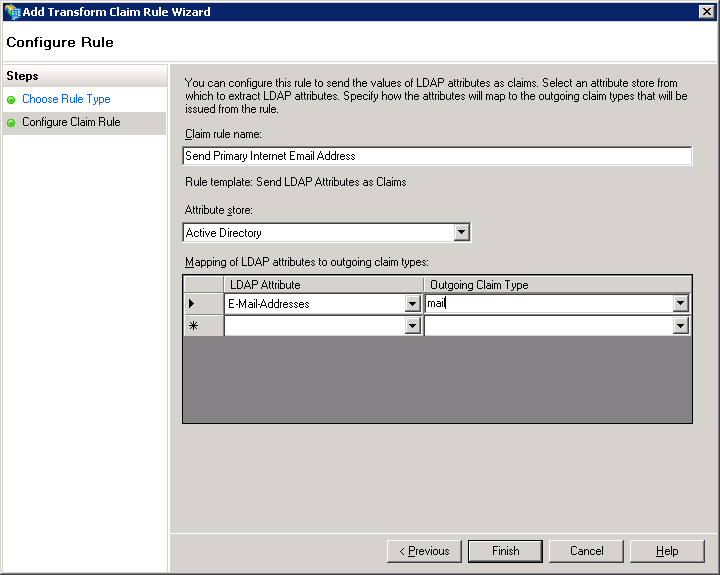
→ Enter a name for the claim rule (e.g., Send Primary Internet Email Address). Then select Active Directory as the attribute store with Email-Addresses in the LDAP Attribute column and email as the attribute in the Outgoing Claim Type column.
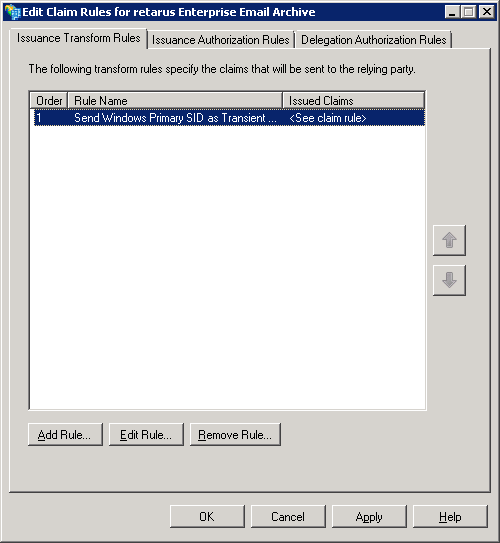
Both rules should now be visible in the first tab of the dialog:

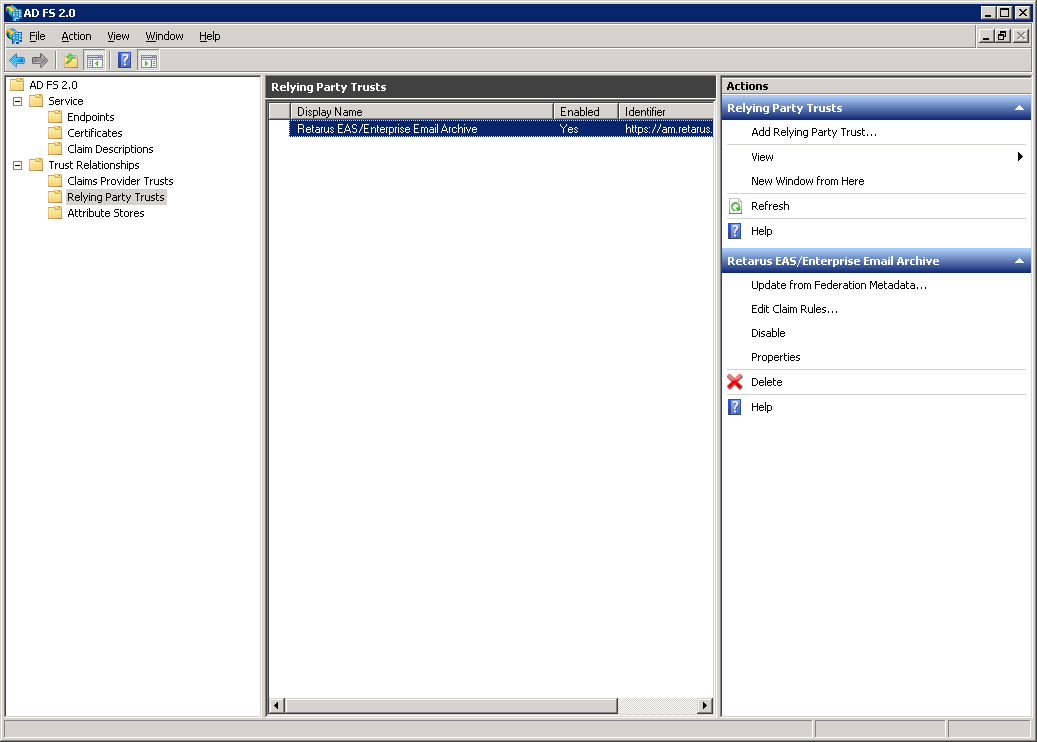
Now you will see the Reply Party Trust entry for Retarus EAS / Enterprise Email Archive access.
→ Disable encryption of the SAML assertion sent to Retarus. Please note the data is anyhow protected because all communication with the Retarus Web Server is via TLS (SSL). This must be performed via a Windows PowerShell ADFS cmdlet, as ADFS does not provide a UI to change this setting.
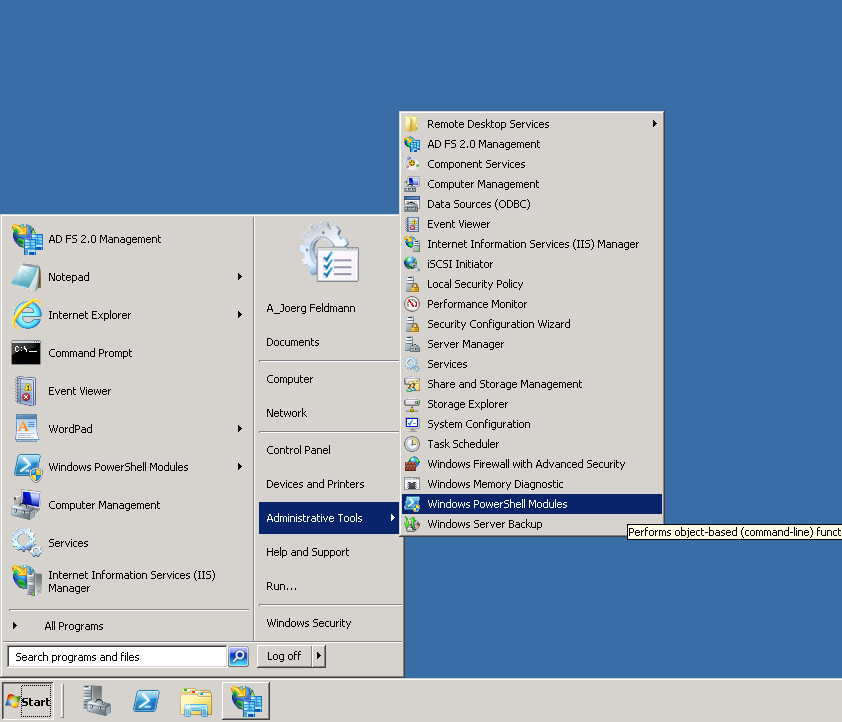
Start the Windows Powershell on the ADFS server using the Windows PowerShell Modules in the Administrative Tools. This will automatically load the ADFS Snapin.
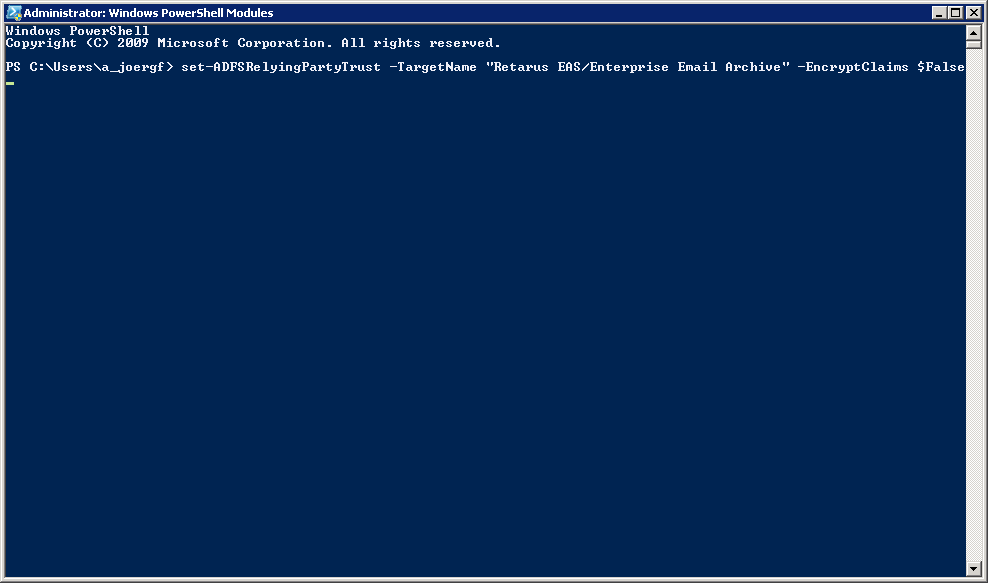
Then enter the following command to disable encryption of the claims to Retarus EAS/Enterprise Email Archive.
set-ADFSRelyingPartyTrust -TargetName "Retarus EAS/Enterprise Email Archive" -EncryptClaims $False
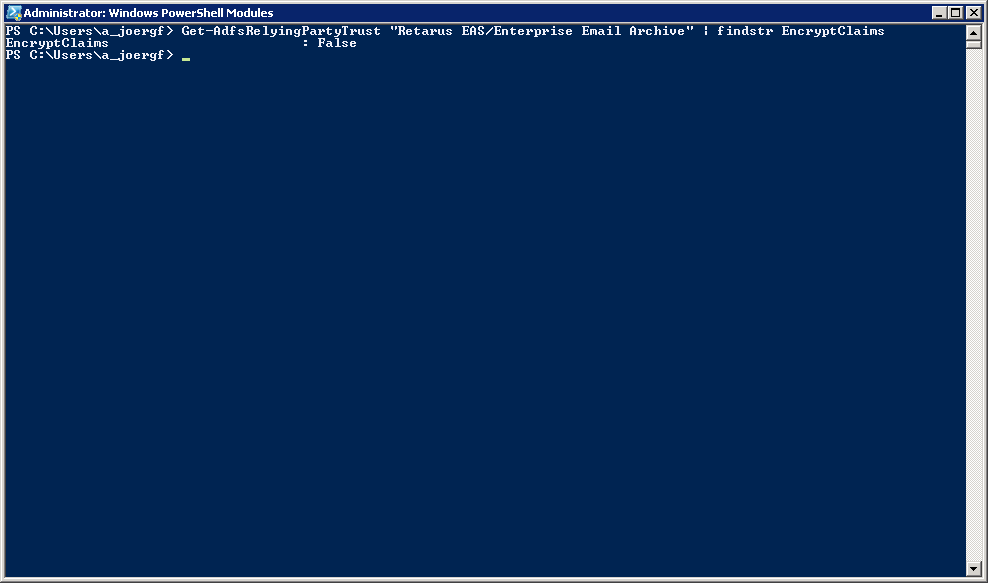
To check that the command worked you can query the setting using the following command.
Get-AdfsRelyingPartyTrust "Retarus EAS/Enterprise Email Archive" | findstr EncryptClaims
The response should be
EncryptClaims : False
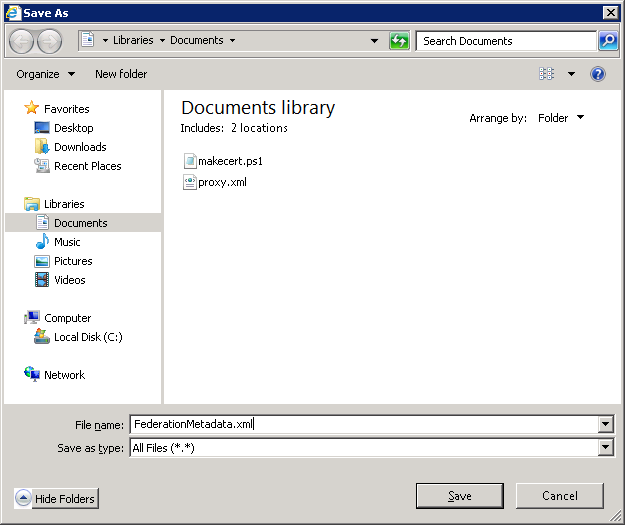
Now you need to send the Federation metadata for your AD FS to Retarus. Please open the following URL in your browser:
<https://<your> adfs server hostname>/FederationMetadata/2007-06/FederationMetadata.xml
Save the content as a XML file using the browser’s save function.
The next step is to send this XML file to your Retarus Implementation Engineer.
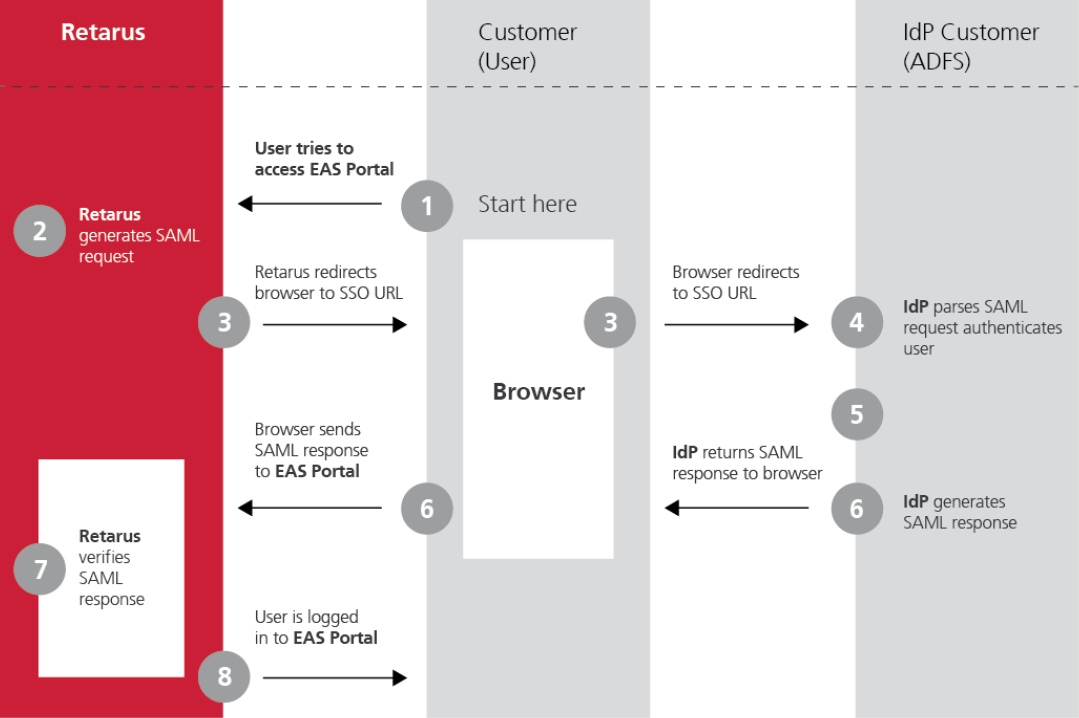
Retarus – AD FS interaction
The following diagram displays the interaction between the Retarus system and the AD FS:
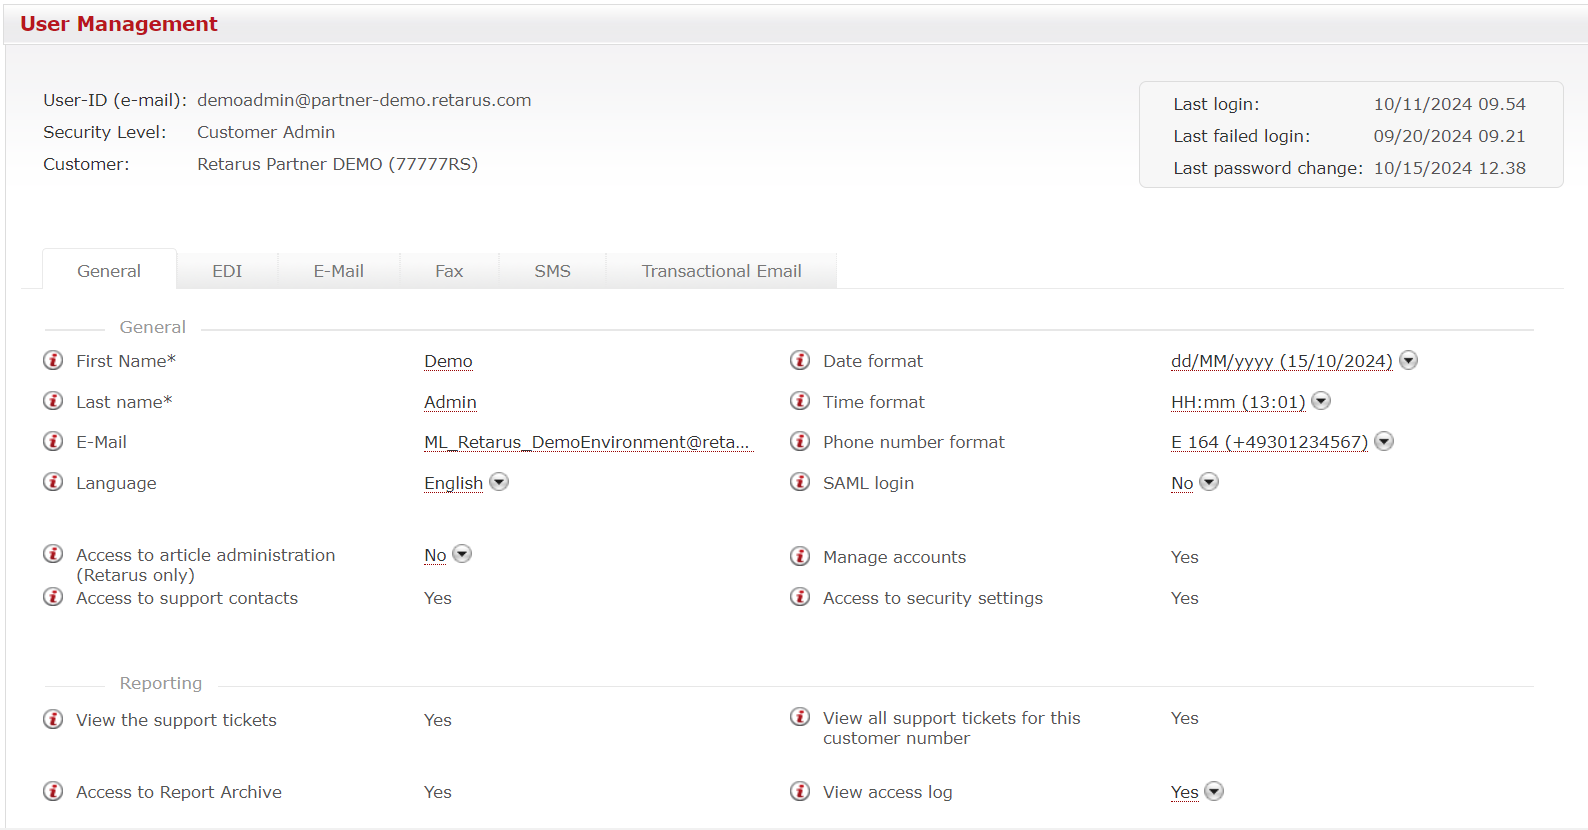
Activate SAML for Users
After Retarus SAML has been installed with your XML file, the next step is to activate SAML access for your EAS users, which can be done via the User Management menu in EAS. Select a user and click on Edit. Under the General tab, click Yes on the SAML login setting. The final step is to save the change.