Managing support tickets
You can manage support tickets on the Support tickets page. To access this page, select Support - Support Tickets in the EAS navigation menu.
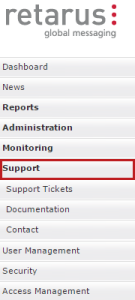
EAS - support tickets
Searching for tickets
On the Support tickets page, you can use various filters to search for specific tickets. For example, you can display only the tickets in a certain status (New, Open, Closed, etc.)
Set your search criteria.
Select Show.
→ The tickets that meet the entered search criteria are shown. The results include details like customer number, ticket number, ticket's subject, creation date/time, and status. Search results are limited to your own account.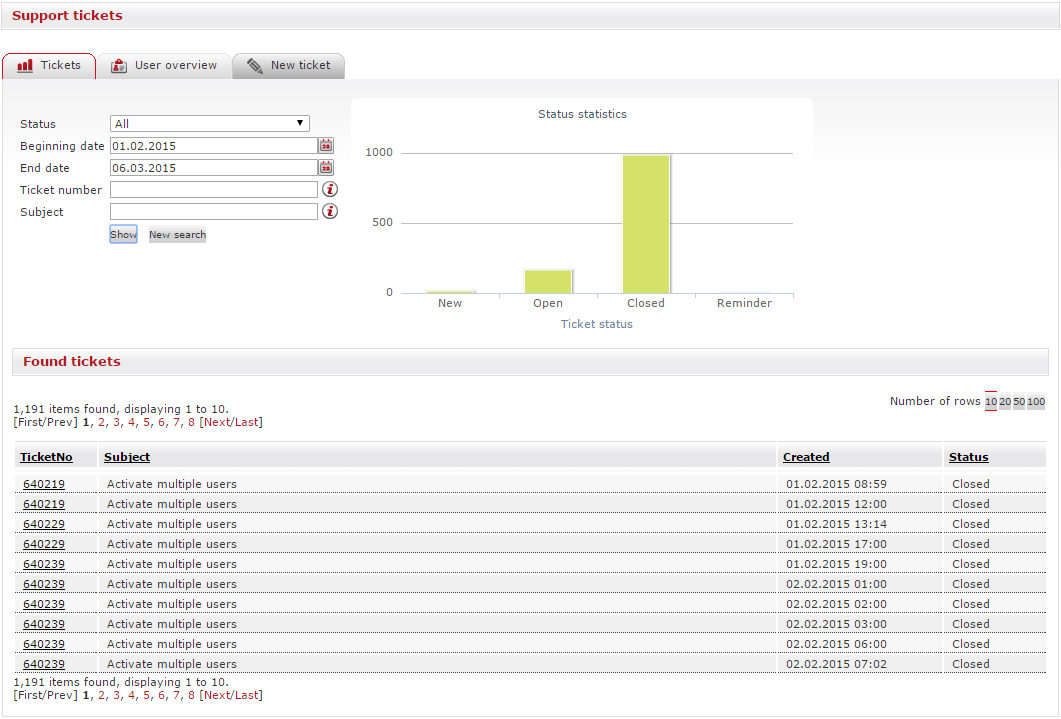
To view all support tickets opened under your customer number, the View all support tickets for this customer number field on the General tab in User Management must be set to Yes for the relevant user account. If you only want to see the support tickets for a customer number that are currently being processed by Retarus Support, the View support tickets field must be set to Yes.
Viewing ticket details
If you're looking for detailed information on a ticket:
Click on the ticket number in the search results.
→ The information about the ticket progress and any communications related to it are displayed in the Details section.
Support ticket attributes
Column/field name | Description |
|---|---|
Customer | Displays the customer number under which the ticket was opened. This field is not visible if you have only one customer number. Instead, Status will be the first field for the search function, and the TicketNo column will be the first column in the search results table. |
TicketNo | Shows the ticket number (RCR number) to refer to when contacting Retarus Support for updates. |
Subject | Brief description of why the ticket was opened. |
Status | Current status of the ticket (e.g., New, Open, or Closed). |
Created | Date and time when the ticket was created. |
Additional attributes in the Details section | |
Created by | Name of the ticket’s author. |
From | Email address or name of the person/entity communicating about the issue and its progress. |
Attachment | Name of the attachment(s) submitted with the ticket request. |
Text | Description of the service issue, request for assistance, etc. |
| Shows the history of the ticket, including communication between the customer and Retarus Support. May also contain additional information, such as why the ticket was opened and/or the action(s) requested by the author, as well as the action(s) taken by Retarus Support to resolve the issue(s) raised in the ticket. |
Managing support contacts
As an administrator, you can manage who among your employees can request technical support.
Viewing support contacts
To navigate to support contacts:
In the EAS navigation menu, select Support and then Support Contacts.
→ The list of employees who are authorized to submit support tickets opens.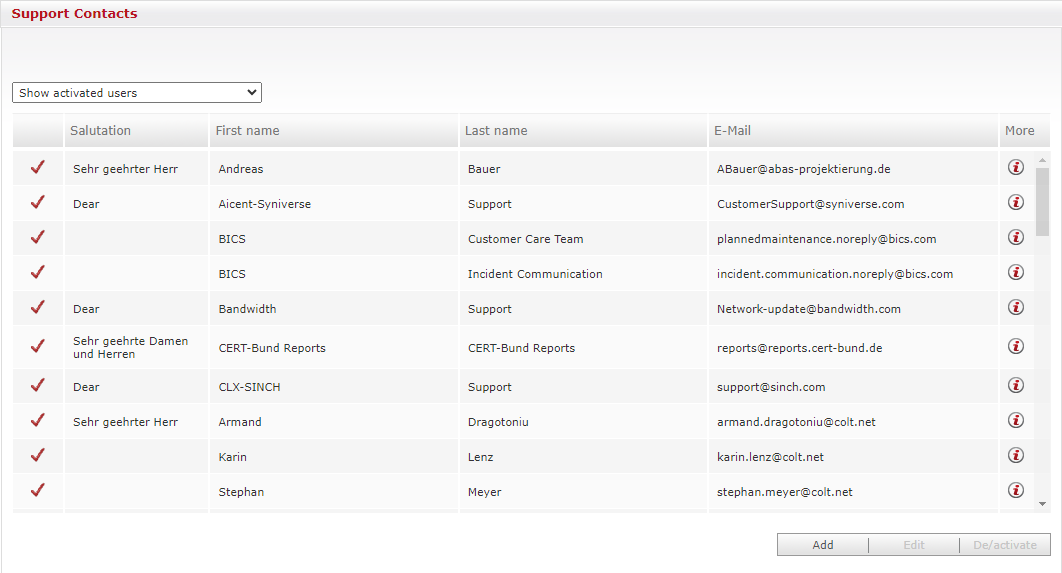
By default, you see only active (authorized) employees with a red check mark next to them. To view all available support contacts (active and deactivated), choose the Show all users option from the drop-down menu at the top of the Support Contacts table. The deactivated contacts do not have the red check mark.
You can view detailed information about any displayed contact in the table by selecting the information icon.
Adding a contact
To add a new support contact:
Select the Add button under the Support Contacts table.
→ A contact form for adding the employee opens.
Fill out at least all mandatory fields marked with *.
Select the Save button.
→ The new support contact is created and added to the Support Contacts table.
Editing a contact
To change the details of an existing support contact:
Click on the contact in the Support Contacts table and select the Edit button under the table.
Alternative: Double-click the contact.
→ The contact form containing the employees' details opens.Make the necessary changes.
Select the Save button.
→ The changes are applied, and the updated information is shown in the Support Contacts table.
Activating/deactivating a contact
You may want to temporarily disable a support contact, for example, if the respective colleague is on vacation:
Click on the contact in the Support Contacts table and select the De/activate button.
→ The confirmation window opens.Select OK to confirm the action.
→ The contact is deactivated and is removed from the Support Contacts table.
To activate the support contact again, choose the Show all users option from the drop-down menu and perform Steps 1 and 2 again.
Opening a ticket
To open a new support ticket, follow these steps:
In the EAS navigation menu, select Support and then Support Tickets.
Select the New ticket tab.
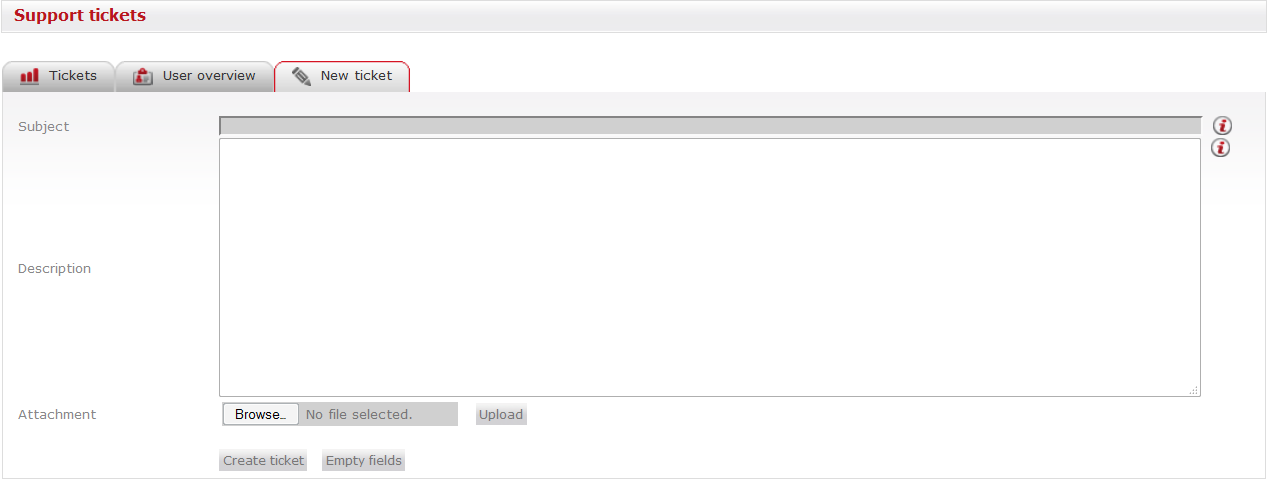
Depending on whether your company has a Service Level Agreement (SLA) with Retarus, you may have other options for initiating a ticket.
Fill out the displayed fields.
If you want to add an attachment to your ticket:
Select the Browse button in the Attachment section.
Navigate to the file you want to attach and open it.
Select the Upload button.
→ The attachment is uploaded, and its name is displayed in the Attachment section.
Select the Create ticket button.
→ The ticket is created and assigned a unique ticket number.
Retarus Support receives the ticket by email (with subject, body, and attachment) and uses this number to track the ticket. If you have an SLA with Retarus, your ticket will generally have a higher priority. For customers without an SLA, an incident has priority over a service request.
Attributes/options for creating new tickets
Column/field name | Description |
|---|---|
Subject (mandatory) | Short description of the problem. |
Description | Additional information about the problem you are experiencing. |
Attachment | Adds an attachment to your ticket. |
Create ticket | Submits the ticket. |
Empty fields | Clears the information entered in all fields, for example, if you want to start the ticket creation process again. |
