
Administrators and faxbox owners can add and delete fax numbers for a faxbox. Each faxbox can have one default fax number for sending and one or more fax numbers for receiving.
Add fax numbers
-
On the main Enterprise Fax Portal page, click Settings.
→ The Users screen opens. -
Select the Faxboxes tab.
→ The Faxboxes screen is displayed and lists your available faxboxes.
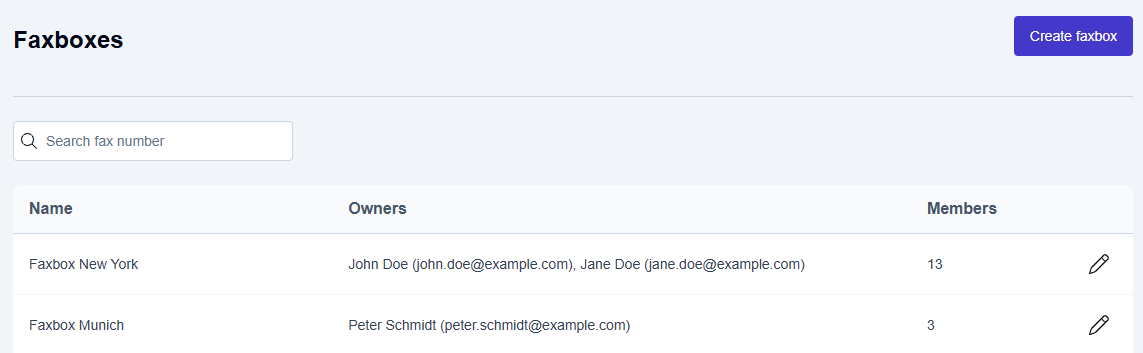
-
Click the pencil icon (

→ The Edit faxbox screen is displayed.
-
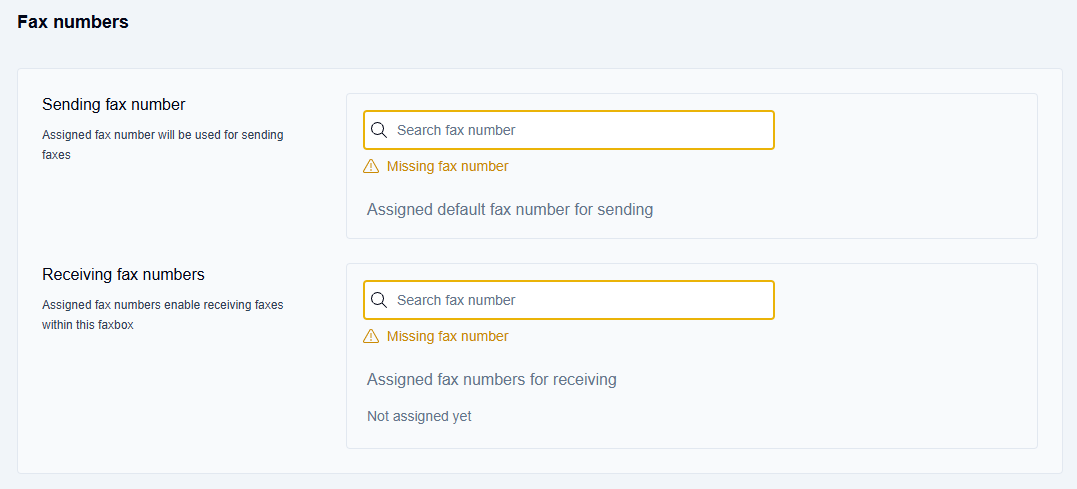
In the Sending fax number field, search for and select the fax number you want to assign as the default sending fax number.
-
In the Receiving fax numbers field, search for and select a fax number you want to use for receiving. Repeat to add additional receiving fax numbers to the faxbox.
-
Select Update.
Delete fax numbers
-
On the main Enterprise Fax Portal page, click Settings.
→ The Users screen opens. -
Select the Faxboxes tab.
→ The Faxboxes screen is displayed and lists your available faxboxes. -
Click the pencil icon (
→ The Edit faxbox screen is displayed. -
To delete the sending fax number, in Sending fax number, click the delete icon.
-
To delete a receiving fax number, in Receiving fax numbers, next to the fax number you want to remove, click the delete icon.
-
Select Update.