
Users with access to the faxbox can create additional folders and subfolders to enhance efficiency and organization.
Adding a folder
-
Click the Settings icon on the main Enterprise Fax Portal page.
→ The Users screen is displayed, listing all available users. -
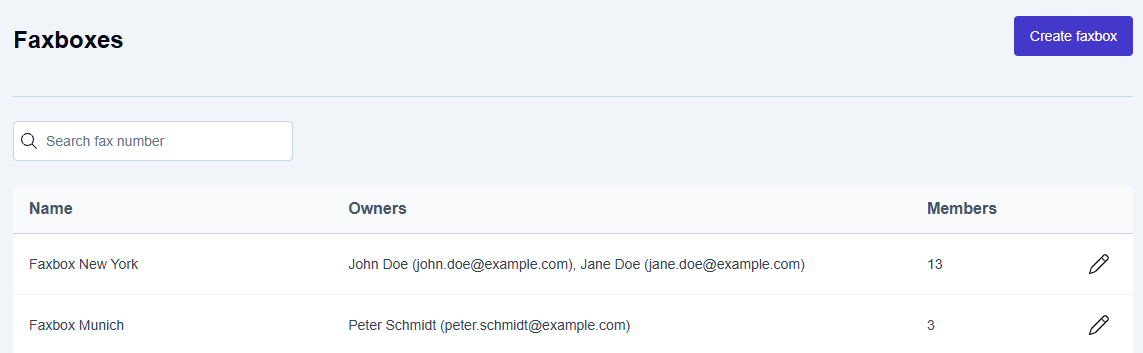
Click the Faxboxes tab.
→ The Faxboxes screen displays the list of your available faxboxes.
-
Click the pencil icon (

→ The Edit faxbox screen is displayed. -
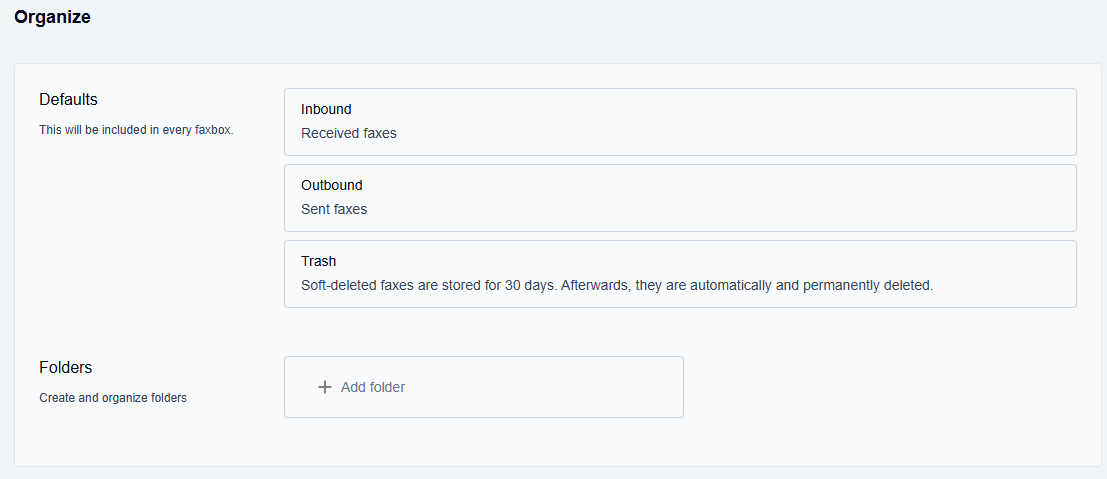
Scroll down through the Edit faxbox options to the Organize section.
-
Under Folders, click the Add Folder button.
📌 Unique folder names
You must use a unique name for each new folder and subfolder you create. If you attempt to enter a previously used folder/subfolder name, an error message displays at the bottom of the screen, warning you: “The folder name must be unique.”
-
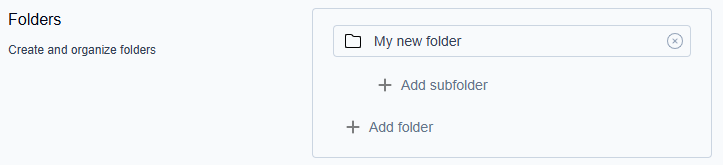
Type the name of the new folder and press Enter.
To rename the folder, double-click the folder name, then enter the new name.
→ The new folder is created. You can now create subfolders if needed.
Adding a subfolder
-
Click in the Add subfolder field.
-
Type the name of the new subfolder and press Enter.
→ The subfolder appears directly below the top-level folder.
→ Only two folder levels are allowed: 1st level = folder and 2nd level = subfolder.
→ You can add as many subfolders as needed at the second level. -
To add more subfolders under an existing folder:
-
Click on the name of the folder.
→ The +Add subfolder field appears, prompting you to enter a subfolder name. -
Click in the Add subfolder field, type the name of the new subfolder, and press Enter.
→ The new subfolder appears in the list of available folders.
→ Repeat these steps to create additional folders and subfolders as needed.
-
Saving changes
-
Scroll up to the top of the Edit Faxbox screen and click the Update button.
→ The Faxbox updated message is displayed at the bottom of the screen.
→ The updated information is saved, and you are returned to the Faxboxes page.