You can send faxes from your faxbox to a valid email address. When you send a fax by email, the fax is attached to the email and transmitted to the recipient without modification. No additional content is added to the email.
Every fax sent by email is recorded in the activity log, which you can view when previewing the fax.
Ways to send a fax by email
You can start sending a fax by email in one of the following ways:
-
From the fax list
Hover over the fax, click the More actions icon (
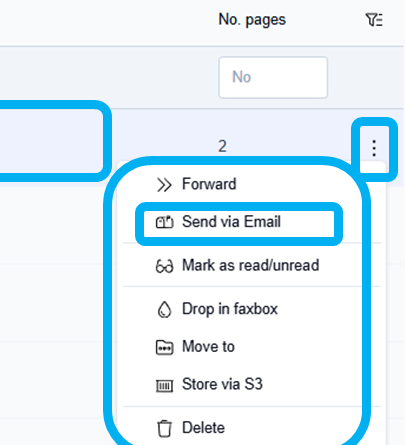
-
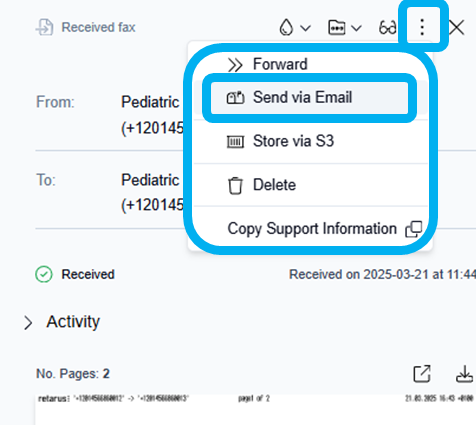
From the fax preview
Open the fax preview, click the More actions icon (
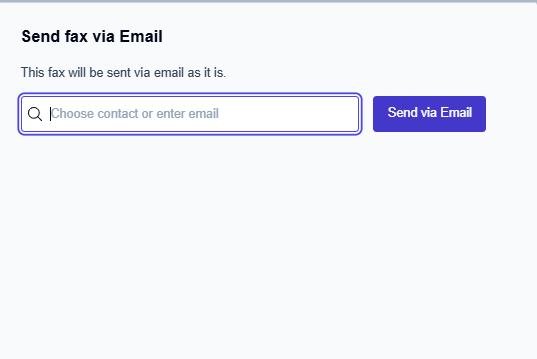
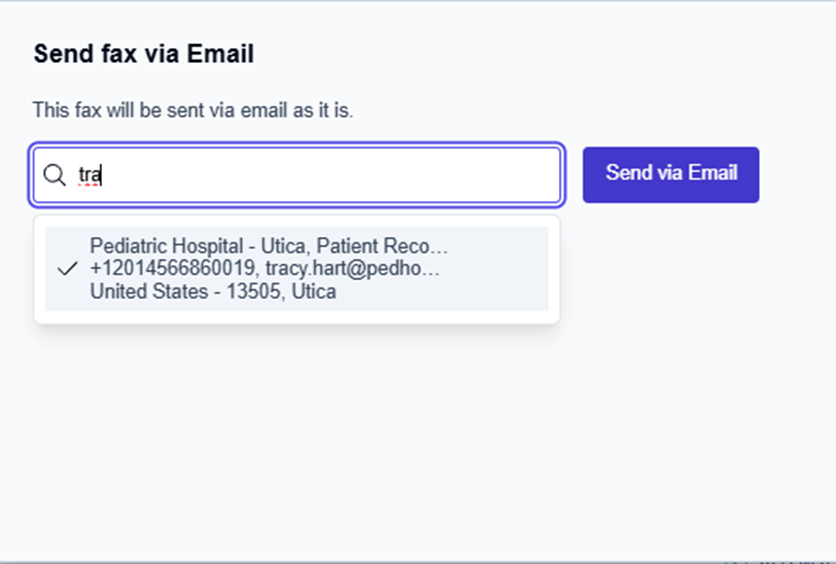
In both cases, the Send fax via Email window opens.
Send a fax
-
In the Choose contact or enter email field, enter the recipient using one of the following methods:
-
Manual entry
Type a valid email address. -
Address book
Type the first two or three characters of the recipient’s first name, last name, or company name, then select the contact from the list.
-
-
Click Send via Email.
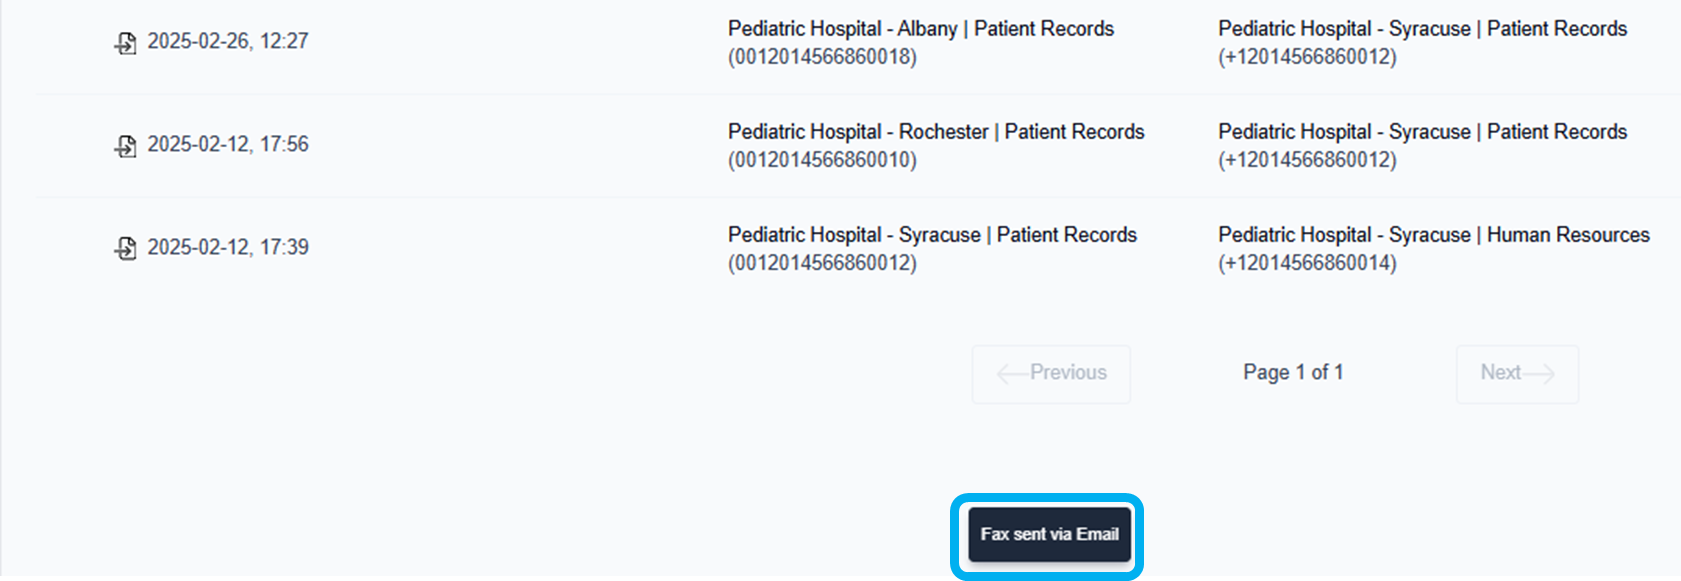
→ The window closes, and a confirmation message appears at the bottom of the screen.