
You can view and configure your personal preferences by selecting My Profile under your avatar icon in the top-right corner of the Enterprise Fax Portal. The following settings are available for you to customize:
-
Language
-
Date & time
-
Fax and number format
-
Email notifications
While on your My Profile page, you can also:
-
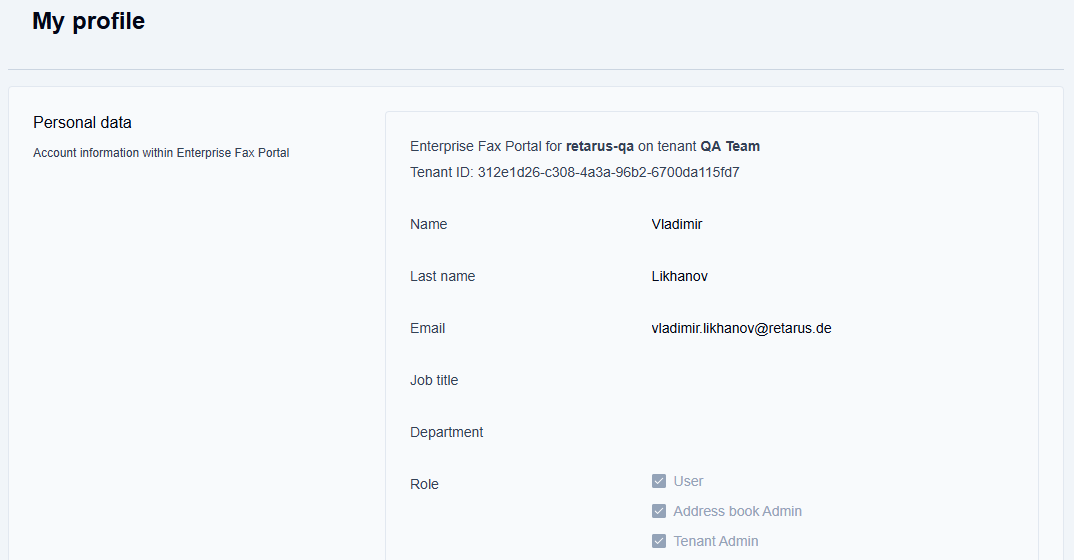
View your personal data and Enterprise Fax Portal account information, including:
-
Your username
-
Your first and last names
-
Your email address
-
Any roles assigned to you by your fax portal administrator
-
-
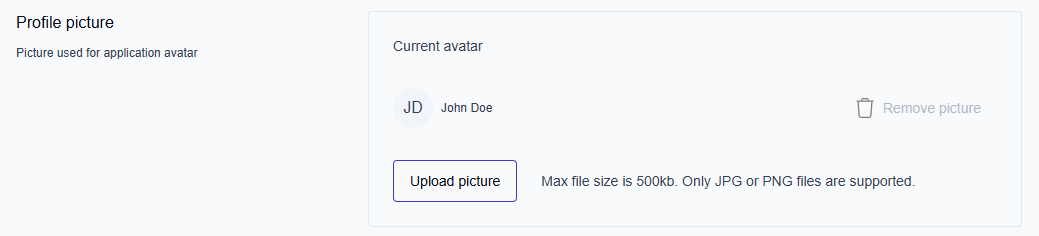
Upload a picture for your fax portal avatar
📌 Tenant and user preferences
Certain settings, including language, date & time, fax number format, and paper format, are set at the tenant level and apply to all faxboxes within your organization. However, you can personalize your own preferences for language, date & time, and fax number format under your My Profile page. Your changes will override the tenant defaults for your individual account.
Viewing “My profile” data
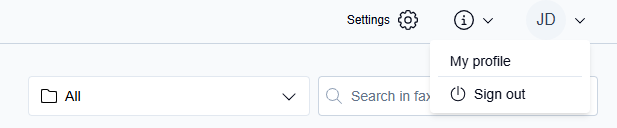
When you are added as a user through the Users option, your personal profile is created automatically. Click the Avatar icon with your initials in the top right corner of the Enterprise Fax Portal page and select My profile from the dropdown list.
The My Profile page displays your personal information and profile settings, such as your tenant name, tenant ID, username, first and last name, email address, roles, and other preferences.
Uploading an avatar picture
-
Click the Upload picture button.
-
Navigate to your picture files.
-
Select a JPG or PNG file for your avatar.
-
Click Open to set your avatar picture.
→ The Picture set as avatar message is displayed, and the selected picture is applied to your avatar.
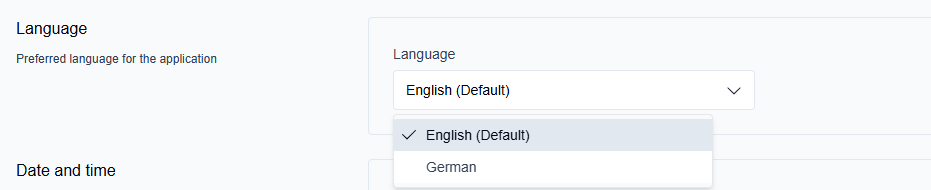
Configuring language settings
-
Click the Language dropdown arrow.
-
Select the preferred language option from the available languages in the dropdown list.
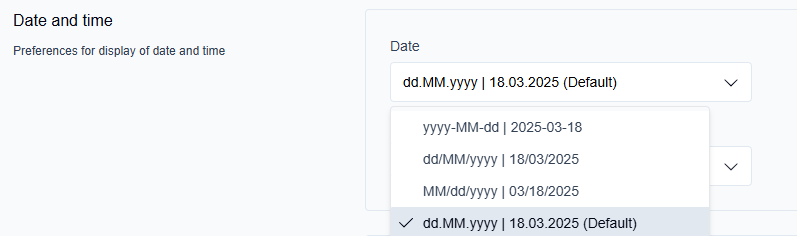
Configuring date and time format preferences
-
Click the Date or Time dropdown arrow.
-
Select the preferred date and time format option from the available formats in the dropdown list.
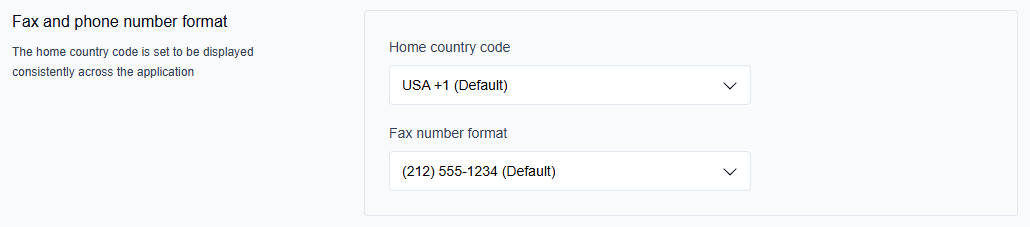
Configuring fax number format preferences
-
Click the Fax number format dropdown arrow.
-
Select the preferred fax number format option from the available fax number formats in the dropdown list.
Configuring email notifications
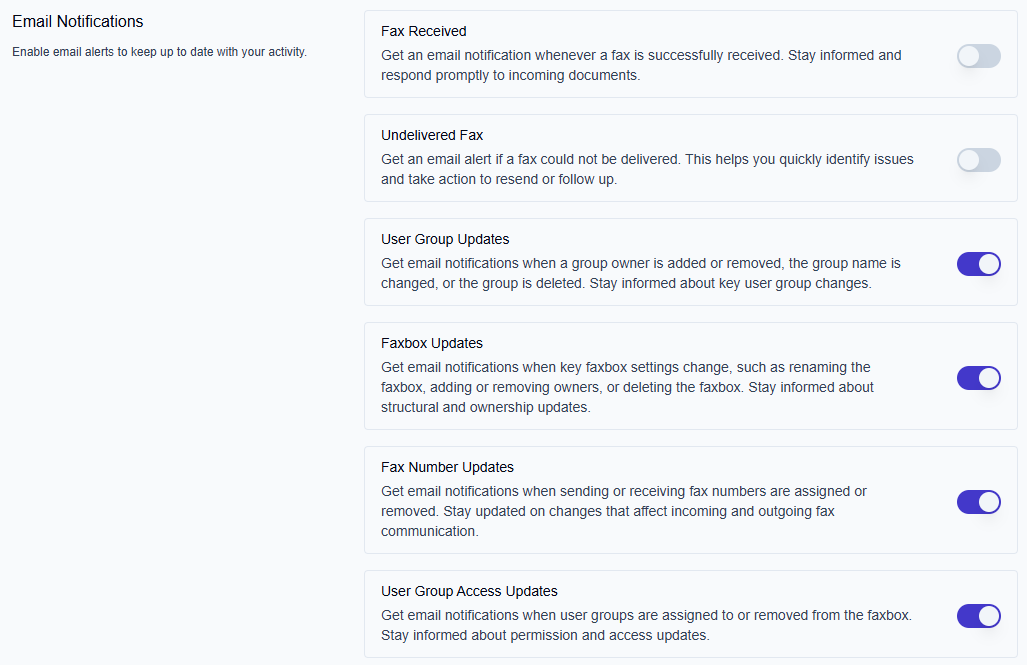
The Email Notifications section lets you manage automated email alerts about your fax activity and changes to faxboxes and user groups you own or manage.
The notification options available to you depend on your role. Faxbox owners and group owners see additional notification types that are not visible to standard users.
📌 Personalized access notifications
If you are added to or removed from a faxbox as a member, you automatically receive a personalized email notification. These notifications do not appear in this section and cannot be turned off.
Available notification types
|
Notification |
Default |
Visible to |
Description |
|---|---|---|---|
|
Fax Received |
Off |
All users |
Receive an email whenever a fax is successfully received. |
|
Undelivered Fax |
Off |
All users |
Receive an email if a fax could not be delivered. |
|
User Group Updates |
On |
Group owners only |
Receive an email when key user group settings change, such as owners, name, or deletion status. |
|
Faxbox Updates |
On |
Faxbox owners only |
Receive an email when key faxbox settings change, such as the faxbox name, owners, or deletion status. |
|
Fax Number Updates |
On |
Faxbox owners only |
Receive an email when sending or receiving fax numbers are assigned or removed. |
|
User Group Access Updates |
On |
Faxbox owners only |
Receive an email when user groups are assigned to or removed from a faxbox. |
To configure your email notifications:
-
Go to My Profile.
-
In the Email Notifications section, review the available notification types and their current settings.
-
Use the toggle next to each notification type to turn it on or off.
For details about what triggers each notification and what the emails include, see Email notifications.