Configuring cover pages in EAS
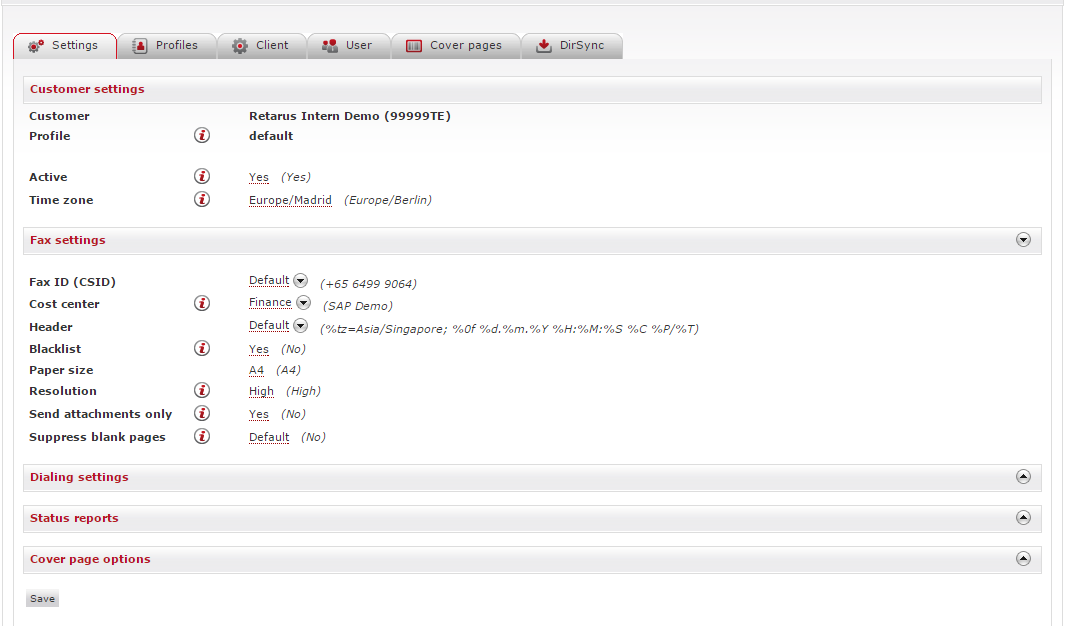
You can configure a cover page in the EAS portal. To open the cover page settings:
Log in to the EAS portal.
Go to the Email-to-Fax section under Administration - Fax Services.
Uploading cover pages
To upload new cover pages:
Click the Cover Pages tab.
→ All previously uploaded cover pages, as well as the Retarus cover page template, are displayed.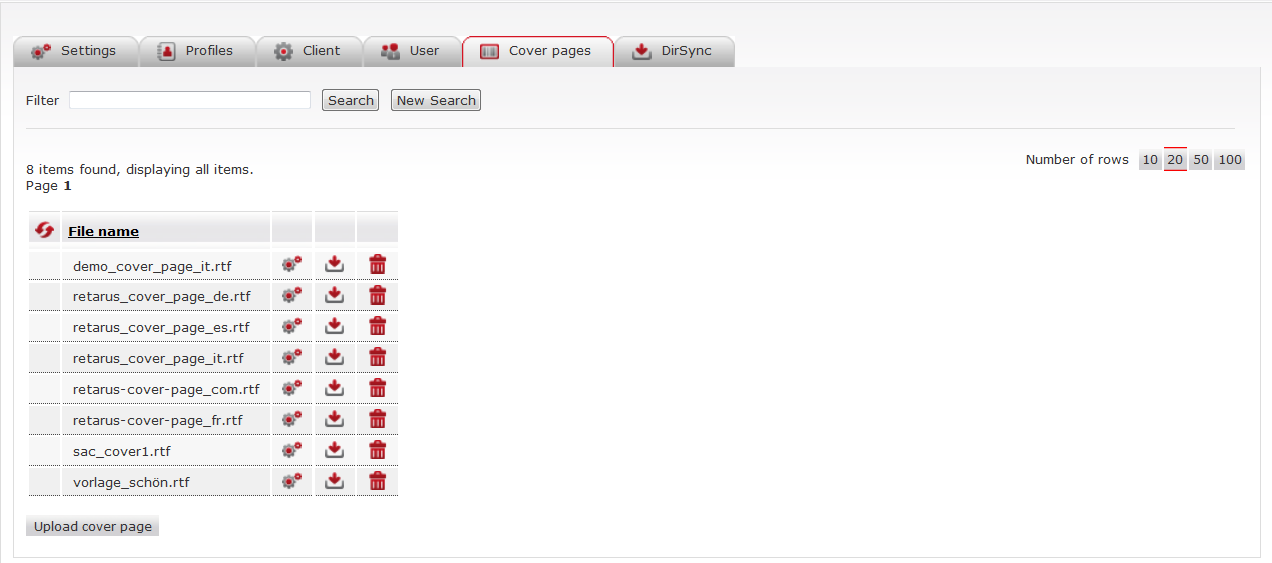
Select Upload cover page.
→ The window for uploading cover pages opens.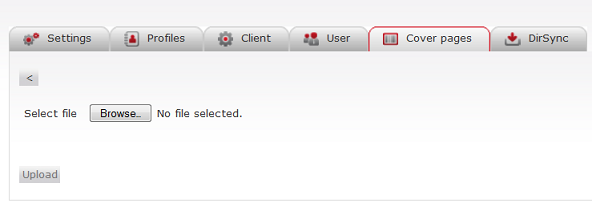
Select Browse and choose the required cover page.
Optional: Assign fixed values to three pre-defined personalization fields that will be used for subsequent transmission: Date format, Time format, and Time zone.
If you leave these fields blank, the defaults will be used and the entries for the profile, client, or user will apply at the time of transfer.Select Upload.
→ The cover page is uploaded.
The system now checks if the requested file is in the correct format. If it is not, you’ll see the error message: “The file format is not supported”.
If you select an RTF file to upload, you will receive this message: “The cover page has been uploaded successfully.” You can continue uploading files and will be redirected to the cover page overview.
Additional options
You can download your saved cover pages by selecting the ![]() button or select the
button or select the ![]() button to modify the default values for date, time, and time zone. Select the
button to modify the default values for date, time, and time zone. Select the ![]() button to delete an existing cover page.
button to delete an existing cover page.
📌 Deleting cover pages
You can only delete cover pages that are not currently in use. If you try to delete a file that is in use, you will receive an error message. If this happens, check to see if the cover page is associated with a user, profile, or client.
Creating personalized information
The personalization fields in your cover page are stored in the cover page options in the Email-to-Fax configuration. You can set this information at the user, profile, and client levels.
There are personalization fields that can be used throughout the company or organization, such as the company name. They can be predefined for all users in Settings. Similarly, fields that apply to a group of users, such as a department, can be defined in Profiles. Fields related to an individual user can be defined directly at the user level.
This information can be entered directly for each user or uploaded with the user list.
You can find the input mask for the personalization fields in Settings/Customers/Profiles and for users in Cover page options.
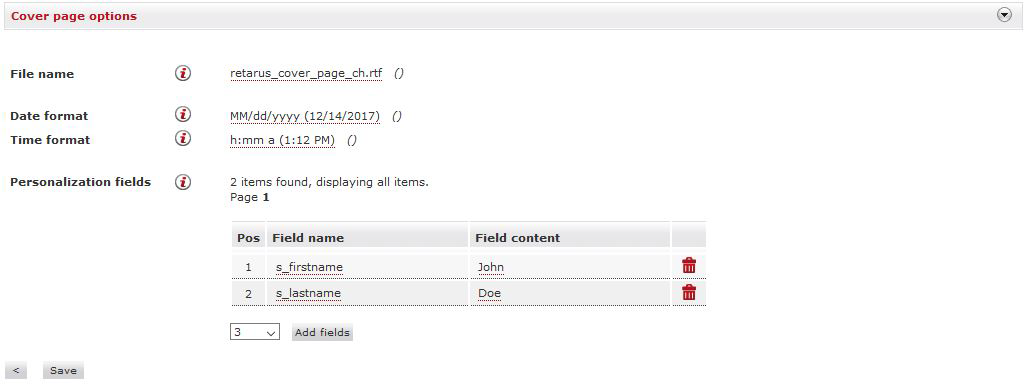
Here, you can select which of the uploaded cover pages should be used for fax transmission.
The Cover page options contain sections that are critical to the process of setting personalization fields. You can specify date/time formats and time zones in the respective fields. Values configured elsewhere appear in parentheses as defaults and will be applied if you don't configure any individual settings.
You can define the individual data you want to use in your cover page, but be sure to define only the same fields you defined in the cover page selected above.
When a user sends a fax, the data found in the Field content field is placed in the appropriate place on the cover page.
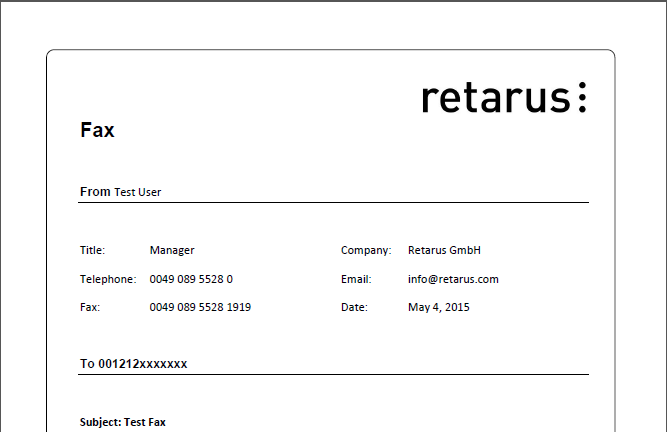
Using personalization information in transmissions
Each transmission uses the most accurate personalized information. This means that if a user's individual field data and the same field in the profile stored for that user are set, the information that describes the user in the most detail (i.e., the user's own information rather than the profile information) is used.
The profile information is only used if the corresponding field at the user level is empty, which is also the case for client and customer settings.
