
Unlike the other settings, the Fax Rules and Distribution Lists settings are only available in the Clients tab.
Fax rules
To change the fax rules for a specific client, go to the Clients tabs and select the ![]()
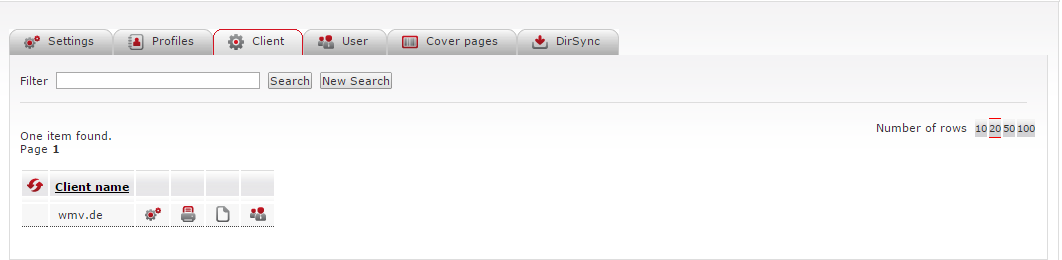
The Fax rules table appears with all the rules currently configured for the client.
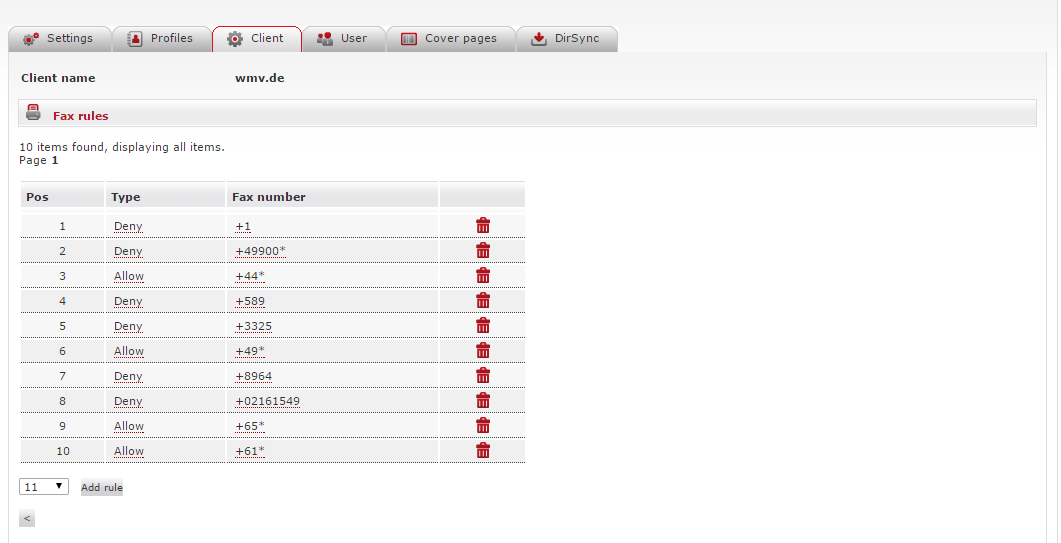
The fax rules are used to configure the dialing rules for outgoing faxes. For example, you can exclude individual recipients or entire number ranges from fax transmissions.
Adding new fax rules
-
Select Add Rule under the Fax rules table.
You can use the drop-down menu to select a new rule's position directly. If you do not use the menu, the new rule is placed at the bottom of the table. -
Click the Type field to specify whether the destination fax number is blocked or allowed.
-
Click the Fax number field and enter the required fax number.
-
Click

→ The changes made are saved.
To delete an unwanted fax rule, click ![]()
📌 Rule processing order & wildcard behavior
The rules are processed from the top (position 1) to the bottom of the list; however, the last (bottom-most) rule always has the highest priority. If the last rule uses the wildcard symbol (*) to block fax numbers, it overrides all previous rules, making them invalid.
Fax rule settings
The following table lists the fax rule settings:
|
Button/icon |
Description |
|---|---|
|
|
Settings icon. Click to open the configuration screen for the client. |
|
|
Fax Rules icon. Click to change the fax rules. You can exclude individual numbers or blocks of numbers from receiving faxes. |
|
|
Distribution Lists icon. Click to view, add, or modify the distribution lists for the client. |
|
|
Users icon. Click to display a list of users under the relevant client (this will take you to the Users menu). |
Distribution list names
The distribution list names are used to specify which files are attached to Email-to-Fax messages as distribution lists rather than sent as faxes. Full filenames and wildcards (e.g., *.csv) are supported. This means that when sending messages, an attachment with one of the names described here will be considered as a distribution list and will not be faxed.
When sending a message to a distribution list, only the recipient must be specified, e.g., list@rfax.net or list@us.rfax.net. The message is then sent to all the recipients in the list.txt file, making it easier to send messages.
To find a distribution list for a particular client:
-
Go to the Client tab.
-
Select the

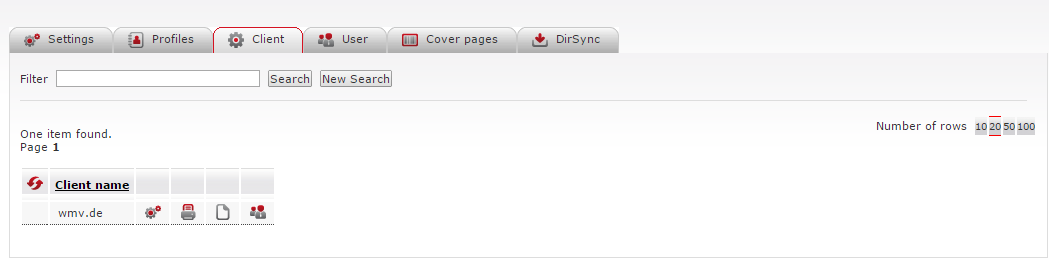
→ All distribution lists configured for the client are displayed.
-
Optional: To change a value, simply click on it and enter a different name.
To add a new distribution list:
-
Select Add list under the list of configured distribution lists.
-
Enter a name in the Distribution list names field.
-
Click
→ The changes made are saved.