You can manage how SMS Reporting data is displayed by switching between available views and setting a preferred default view. These operations work the same way for both Inbound and Outbound SMS Reporting.
Switching between views
-
Open the relevant reporting screen (SMS - Reporting - Inbound/Outbound).
-
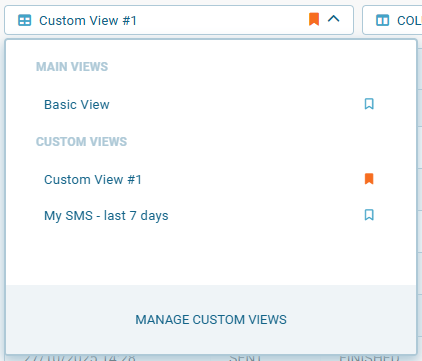
Click the reporting views dropdown at the top of the table.
-> The list of available views is displayed.

-
Select one of the following:
-
Basic View — default system view.
-
Custom View — one of your previously saved configurations.
-
-> The selected view is applied immediately.
-> The table updates to show columns, filters, and settings saved in that view.
Setting a view as default
By default, Basic View loads each time you open SMS Reporting. You can change this behavior by setting one of your custom views as the default.
You can set a view as default in several ways:
-
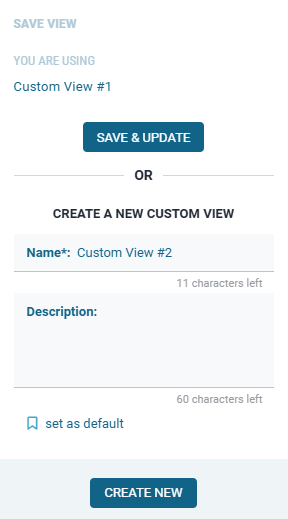
When creating a new view
Activate the Set as default option in the Save View dialog before saving or updating.
-
From the view list (dropdown)
Open the views dropdown and click the flag icon next to a view name. The flag turns orange to indicate it’s now the default view.
-
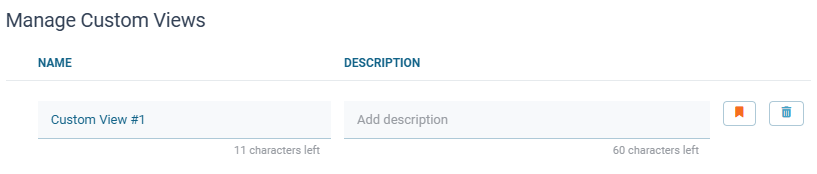
When updating a custom view
Open Manage Custom Views, locate your preferred view, and click the flag icon next to it. The flag turns orange to confirm it’s been set as default.