As an administrator, you are authorized to create accounts for your company’s new users and administrators. To do this, click on Administration - User in the menu toolbar. Its contents are now visible solely to administrators.
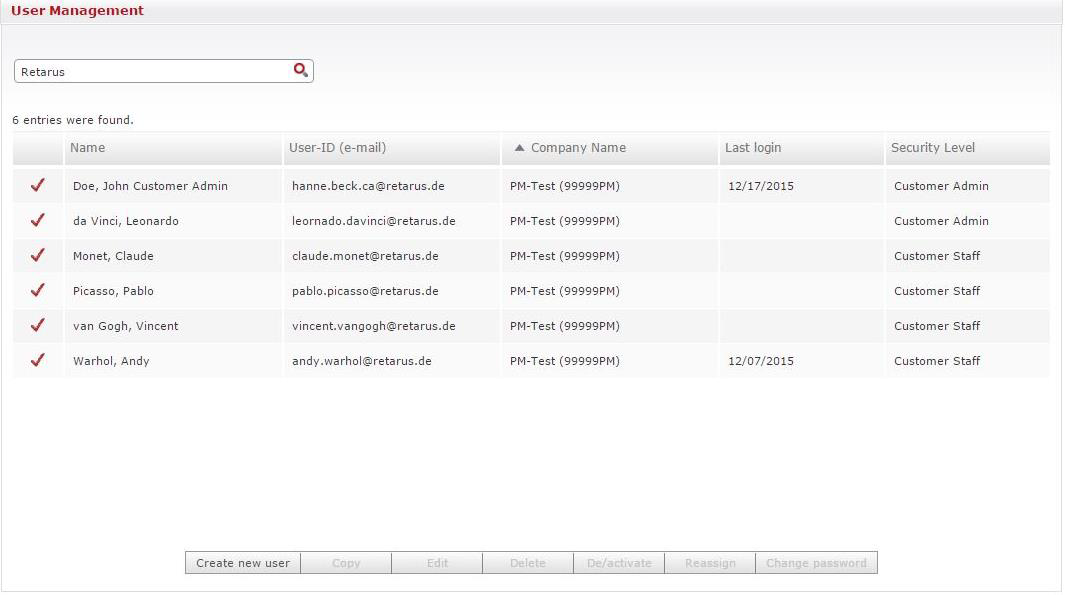
You will initially receive an overview of all existing accounts and their rights. In the search bar, you have the option of filtering results by a user’s name, User-ID, email address, or company name. You can sort the view respectively, or in descending order by Name, User-ID, Company Name, Last login, or Security Level.
The buttons mentioned below enable modifications to the list. Click respectively on a user and select Copy, Edit (you can also double click on a user), Delete, De/activate, Reassign, or Change password. Click on Reassign when you want to change an employee’s status from Customer Staff to Customer Admin. You can use the Change password button to set a new password or a secure one for your user.
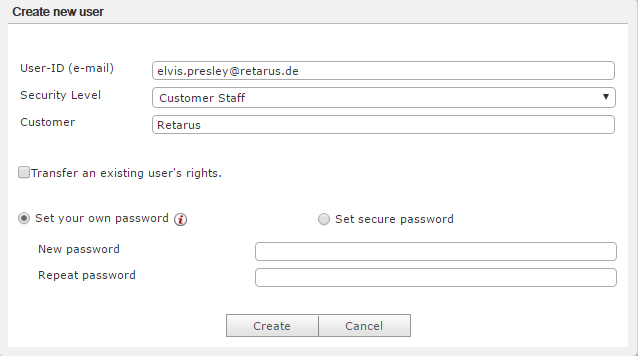
To add a new user, click on Create new user in the menu toolbar.
You then have to enter the new user’s User-ID (please note that it cannot be modified later). The next step is to specify the new user’s rights in the Security Level field, where the user can either be Customer Staff or Customer Admin. At both levels, there are already various preset rights. You can, however, assign additional rights to Customer Staff or transfer them from an existing user.
You can assign a password to the new user or have one generated automatically that is sent via email to the User-ID.
The User settings then appear. Alternatively, you can access them in the main overview either by clicking on the Edit button or double-clicking on the user.
General

Under the General tab, you can modify all additional settings for your users. In the upper section, you have the option of managing the basic user settings- you can, for example, select the date and time format and configure a country code.
In the next section, you define which transmission media the user is authorized to utilize. You can choose from Email, Fax, and SMS.
The Cost center alterable field becomes important when the user wants to have different billing codes for their transmission jobs. If this is applicable, set this field to Yes. In the Show reports field, you can define whether the user has access to the reports area. If the Can see all campaigns (even user specific) option is activated, the user sees all transmission jobs that have been sent from their domain.
The Campaigns are user specific, i.e., only the owner has access to any related information option prevents campaigns from inadvertently being sent a second time by other users. However, if this feature is activated, only one user can use a saved transmission job- it cannot be used jointly.
You can also enable user access to distribution lists, blocklists, and company blocklists.
It is crucial to activate the Manage templates feature if users need access to transmission jobs, and saved fax personalizations, as well as the Subscribe/Unsubscribe options.
In the Access to security settings field, you can configure whether the new user is also authorized to have access to the security settings.
Security
When you use the IP restriction feature for the first time, you must define the pre-settings under Administration - Security (see Security).
In the Security section, you can opt to configure access restrictions by IP addresses. You can define whether the user will have access to the Retarus WebExpress Portal via Company-wide standard settings, User-specific settings, or with No restrictions.
The company-wide standard settings correspond to the IP restrictions defined in the Company settings (see Security). To configure settings for individual users, you can, with a couple fewer clicks in the Company settings, allocate preset IP address ranges or define individual IP addresses from which access to WebExpress is authorized.
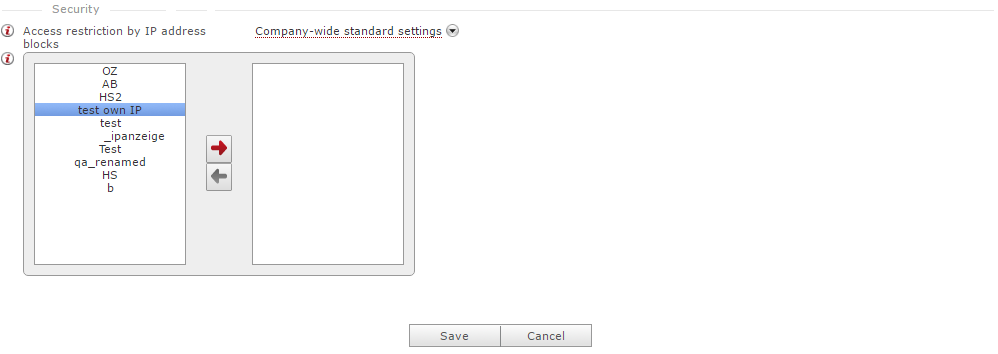
This can be done by clicking on the respective pre-selection on the left-hand side. This pre-selection can be transferred to the right-hand side via the red arrow in the middle. All pre-set IP addresses in the Company settings are located on the left-hand side and the profiles which are available to the corresponding users are on the right-hand side. The No restrictions option excludes individual users from the company-wide standard settings. This option is, for example, appropriate for managers. The Manage access restrictions using IP address blocks feature authorizes the user to view and modify access restrictions.
You should always save any changes (the Save button is located at the very bottom of the menu).
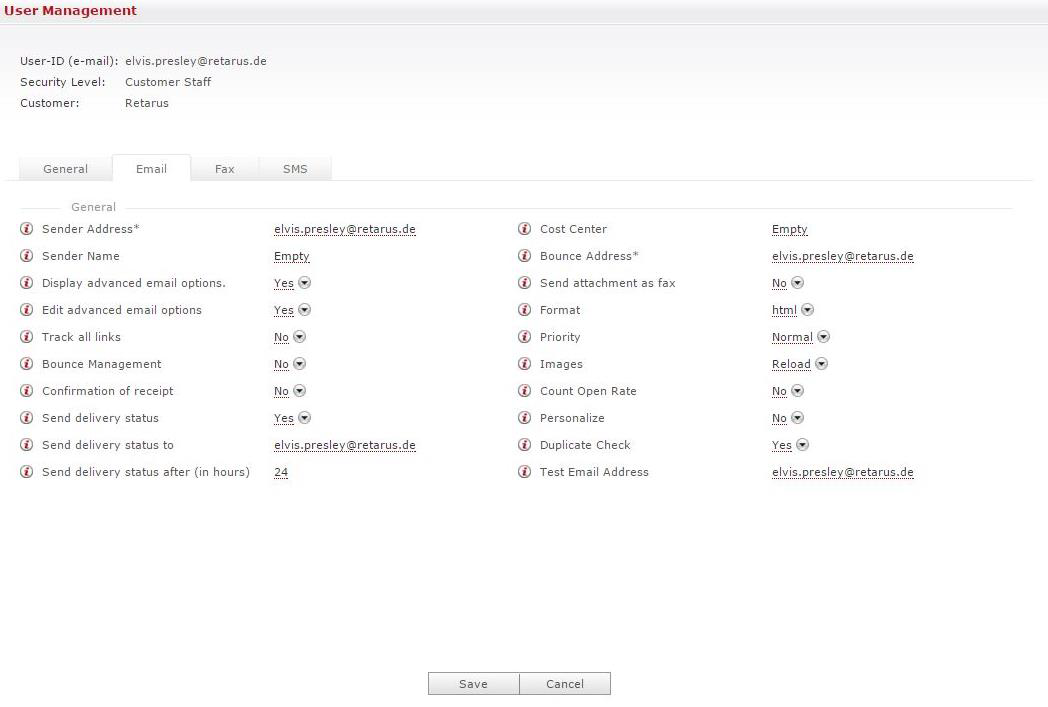
Email
You can preset all default transmission settings for users who are authorized to send emails under the Email tab. In addition, you can edit the sender’s name and email address here. If no configurations are set here, the previously defined IDs and names will apply. Furthermore, you can configure whether the sender can view and utilize the expanded email options. This currently means that the visibility of the sender.
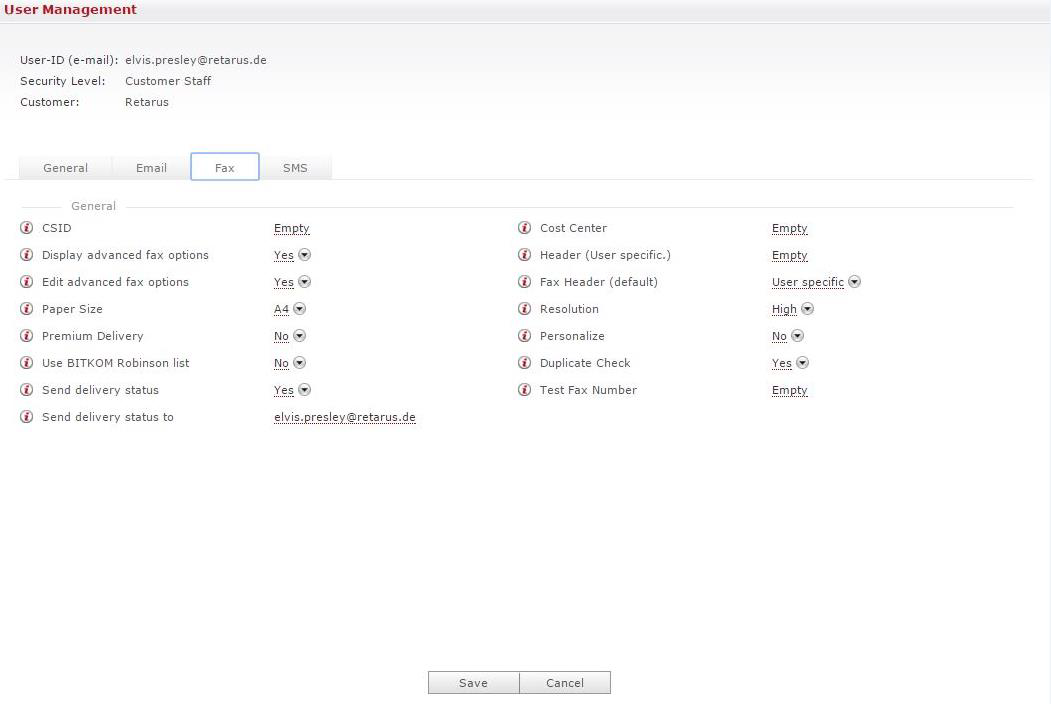
Fax
Under the Fax tab, you can preset the same transmission settings for users who are authorized to send faxes as those available under the Email tab. Furthermore, you can configure whether the sender can view and utilize the expanded fax options. This currently means that the visibility of the sender name can be restricted.
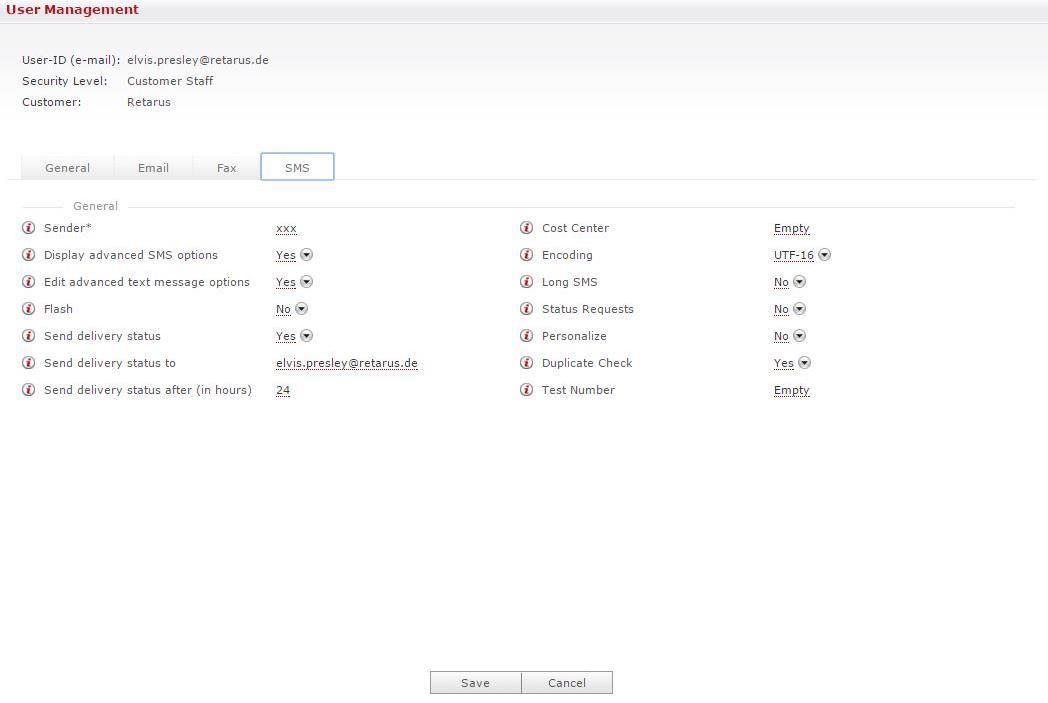
SMS
Under the SMS tab, you can preset the same transmission settings for users who are authorized to send SMS as those available under the Email tab. Furthermore, you can configure whether the sender can view and utilize the expanded fax options. This currently means that the visibility of the sender name can be restricted.