Subscription to an email newsletter
You can use the Retarus WebExpress Subscription function to create an individual subscription page for your distributions that can, for example, be inserted into your website. The Subscription menu can be located in the navigation menu under Templates - Subscription and the Unsubscribe function via Templates - Unsubscribe.
Three steps are required to create a subscription page with a complete order workflow: creating a confirmation page, creating a confirmation email, and defining a subscription page.
The following diagram displays an overview of the entire subscription function process. The overview confirms that you should create confirmation pages in the first step of the process, even when they are only initially visible to the users of this site at the conclusion of the subscription process.
The diagram depicts an interested party retrieving your subscription page, e.g., via a link on your website. The user leaves their email address and perhaps additional information, e.g., fax number, and mobile phone number. They then receive a confirmation email you have created that directs them to the confirmation page, where the user's data is transferred to the distribution list. At this point, they receive your email newsletter, fax mailshots, or SMS alerts.

Creating confirmation pages
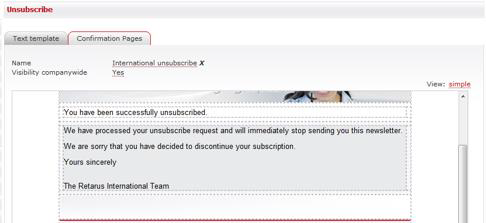
The initial step in creating a subscription page is defining a Confirmation Page for both a successful and a failed subscription process. For the first, Retarus WebExpress displays your offer to interested parties after they have subscribed to one of your mailings by providing a valid email address. The second is only received by users when, for example, they were previously entered in the distribution list, or due to technical difficulties, their email address cannot be entered in the distribution list.
In the Visibility company-wide field, you assign names to the confirmation pages and stipulate whether the pages can be used by all company employees or only by you.
You can also indicate what information the interested party has successfully subscribed to. To do this, click on the use the control command ${lists} to add the subscription distribution list (the symbol is ![]()

The most important information is already contained in the standard text found in each confirmation page you have newly created. The standard text can be expanded, re-formulated, and adapted to suit your company's corporate identity as needed. You can display confirmation pages in the preview after they have been saved.
Creating a confirmation email
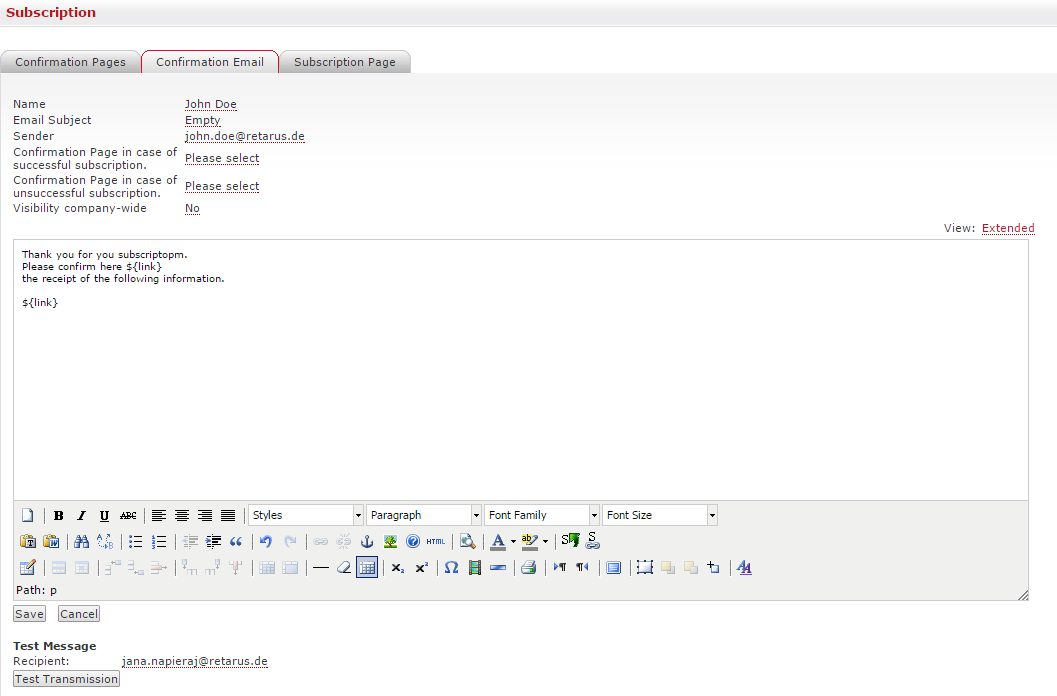
The second step is to define a Confirmation Email, which Retarus WebExpress sends to the email addresses provided by users who are interested in your offer when they activate the Subscription function.
By sending the confirmation email you have fulfilled the requirements for an order process via Double Opt-In. The email should inform the recipient which email offering they have ordered.
In addition, the email also contains a subscription link ${link}, via which the recipient confirms that they actually want to take advantage of the offer. Only once the recipient has clicked on the confirmation link is the data that they have supplied on the Subscription page entered in the distribution list. Clicking on the link also opens up the confirmation page that you assigned to the confirmation email.
You can test the confirmation email with the saved confirmation pages and send it to a stored email address with the Test Transmission function before you publish the Subscription Page.
Creating a subscription page
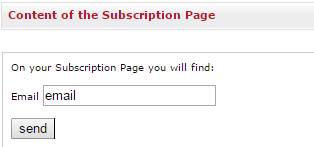
In the third step, you create the Subscription Page through which interested parties can order your offerings. This page can be integrated into any website via a URL. The page can be designed in accordance with your wishes, and adapted to suit your company's corporate identity. Any new subscription page has to be assigned a name and a predefined confirmation email and both success and failure messages have to be created.

The elements that a fully functioning subscription page are required to have already exist in Retarus WebExpress, including the Email, subscription address type, which the HTML Editor shows with ${email}. This generates a field in which interested parties can enter their email address in order to be placed on the distribution list. Also integrated is the Send button ${button}, which interested parties click on in order to complete the order process.
You can enter optional information with the assistance of the form created here. The availability of specific fields is determined by the selection of the distribution list in which you want to save the desired information. Please note that if you select more than one distribution list, you will only have fields available to you that are common to all of the selected distribution lists. Distribution lists are selected by clicking on the checkboxes for selected lists below the Editor.
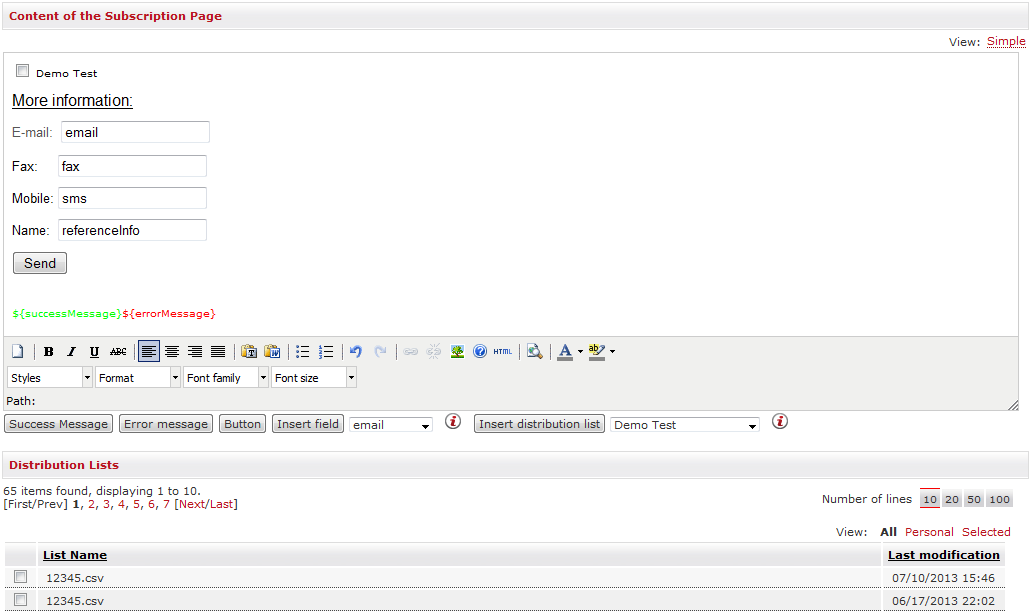
Click on the Insert field button to access the drop-down box located directly to the right in order to insert its displayed entry (or one of your choice) into your Subscription Page as a form field. Repeat this selection process until all desired fields are inserted into your Subscription Page.
In addition, you can add success or failure messages with a click of each corresponding button. These messages are displayed to interested parties when they fill out a subscription form and click on the Send button to confirm.
If you select the Required field checkbox prior to entering a field, interested parties will only be able to register for your mailings when they have completed it. You can define multiple required fields.
To augment the security of your site, you can opt to use HTTPS and integrate a CAPTCHA (Completely Automated Public Turing test to tell Computers and Humans Apart) function, which should ensure that a human has actually entered the data. CAPTCHA can, for example, appear as follows:

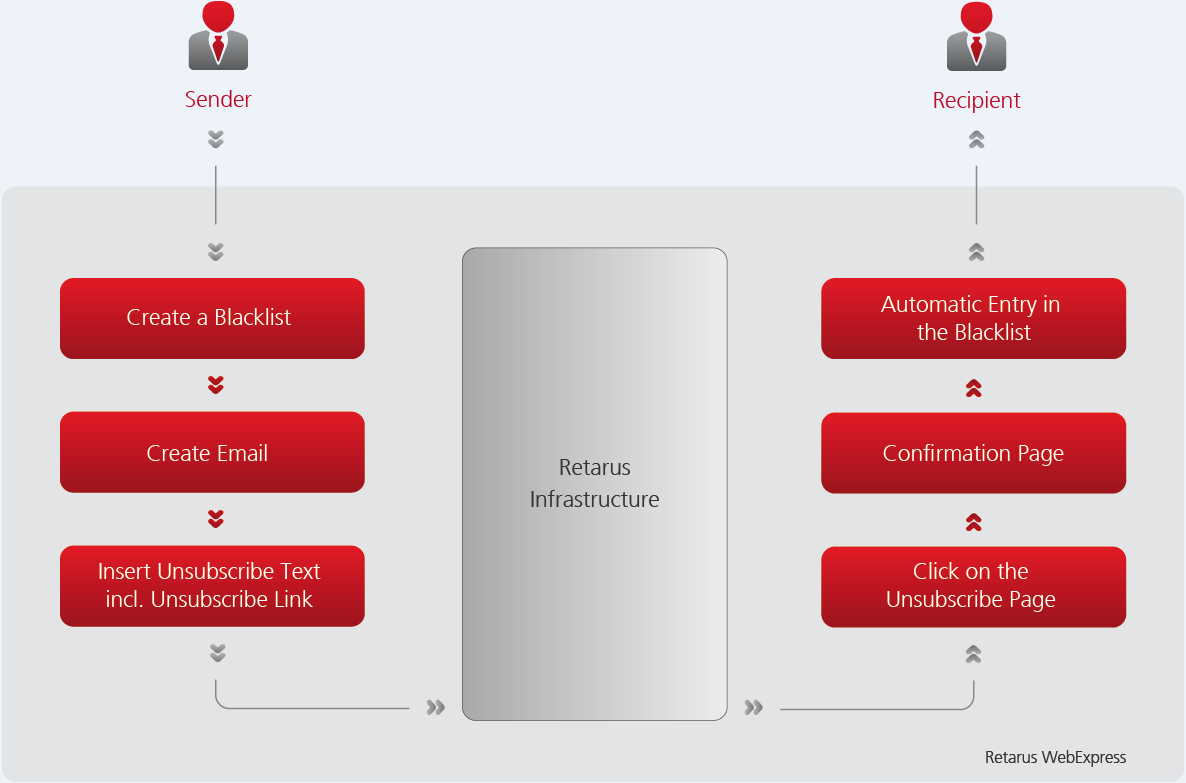
Unsubscribe - deregistration from an email newsletter
You can also add Unsubscribe links to email newsletters that you send via Retarus WebExpress. Recipients that click on this link automatically enter their email address in a blocklist created by you that ensures that they will not receive any further emails from you. You can save the Unsubscribe links using a customizable confirmation page that informs recipients that they have been successfully placed on the blocklist.
The structure of the Unsubscribe function is shown in the following diagram:
An Unsubscribe link can be added to your HTML distribution. Begin the process by clicking on the Unsubscribe symbol ( ![]()
-
Add the link title that is displayed when the mouse is moved over the link
-
Set an individual CSS class for formatting the link
-
Add a text template that is used to assign individual text to the link
-
Assign the relevant blocklist and confirmation page
The Unsubscribe link cannot be included in Link Tracking.
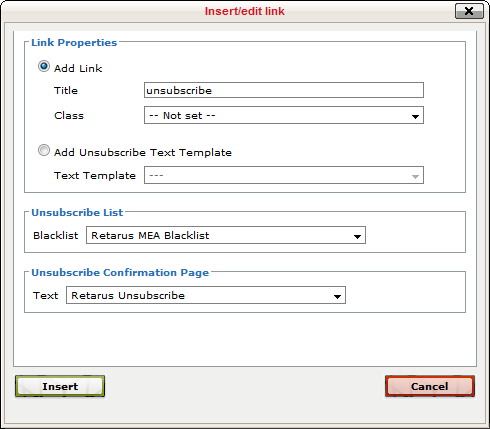
If you want to add your Unsubscribe link to a text that has been stored as a template, select the template from the Add Unsubscribe Text Template dropdown menu.
The email addresses of recipients that clicked on the Unsubscribe link are added to a blocklist that you specify using the Unsubscribe List function. The blocklist must be created in the navigation function under Blacklists before it can be selected for an Unsubscribe link. You can also choose a blocklist that has previously been used for an earlier email or mailing. If you do this, Retarus WebExpress will add the additional email addresses to the blocklist.
A template for the confirmation notification that will be visible to the recipient after they have clicked on the Unsubscribe link can be selected using the Unsubscribe Confirmation Page option. This page must also be created in Templates in order for it to be available for the Unsubscribe function. The Confirmation Page can also be personalized by using the ${email} control command.