
Cover page templates provide a centralized way to create, manage, and standardize fax cover pages across your organization. As a tenant administrator or faxbox owner, you can create reusable templates and control which templates users see when sending or forwarding faxes.
Templates support dynamic variables that automatically populate sender and recipient details, date and time, page count, and custom messages. You can make templates available to all faxboxes or restrict them to specific fax boxes for specialized use cases.
Cover pages are optional. Users can choose to include a cover page or send faxes without one.
Cover page template types
The Fax Portal supports three types of cover page templates.
Initial cover page
Retarus provides a default cover page for every tenant. As a tenant administrator, you can customize this page (for example, by changing the logo) to suit your organization’s requirements. The initial cover page is available under Settings - Cover page templates.
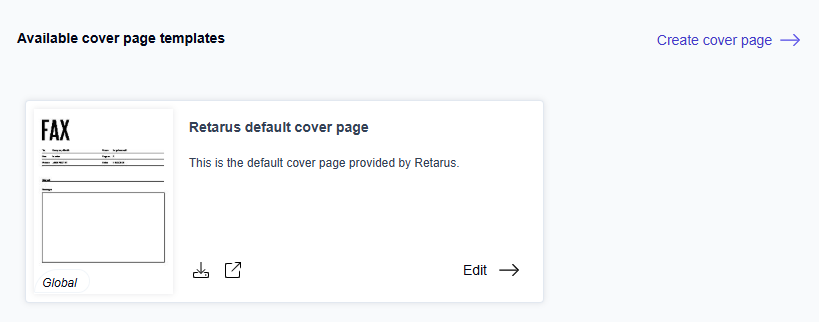
The initial cover page is visible to both administrators and faxbox owners.
-
Administrators can view, edit, or remove the initial cover page.
-
Faxbox owners can view the initial cover page and assign it to their faxboxes.
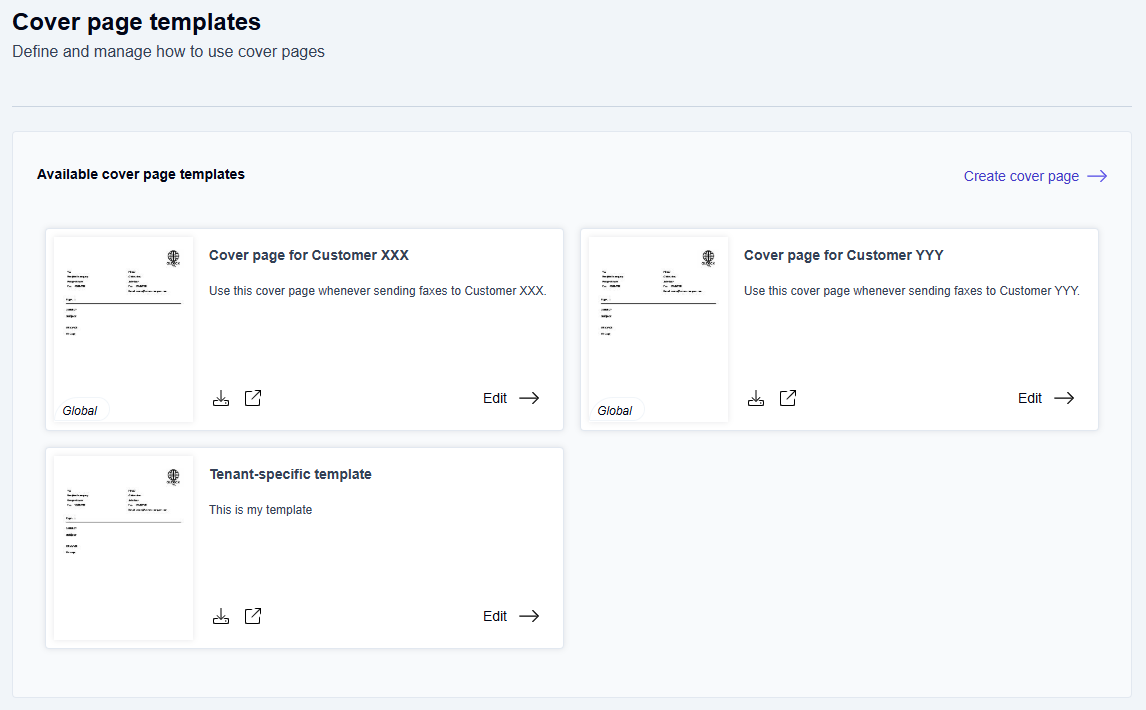
Global cover page
Global cover pages are managed at the tenant level. As a tenant administrator, you can create multiple global templates and make them available across all faxboxes. Global cover pages are marked with the Global label.
Faxbox owners cannot create or edit global cover pages. However, they can view them and assign them to faxboxes they own.
When creating a global cover page, you can optionally assign it to one or more faxboxes:
-
If faxboxes are assigned, the cover page becomes available to users when they send or forward faxes. Users can select the cover page or choose to send a fax without one.
-
If no faxboxes are assigned, the cover page is visible only to tenant administrators and faxbox owners when they create or update a faxbox. They can then decide whether to make it available to users.
Specific cover page
Faxbox-specific cover pages are assigned to a single faxbox. As a tenant administrator or faxbox owner, you can assign each faxbox-specific template to only one faxbox. If you need multiple cover pages for the same faxbox, create a separate template for each one. Faxbox-specific cover pages do not display a special label.
📌 Faxes without cover pages
If no cover page template is assigned to a faxbox, users do not see any cover pages when sending or forwarding faxes from that faxbox and cannot include a cover page in their faxes.
Prerequisites for creating cover page templates
User role
You must be an administrator or faxbox owner to create and manage cover page templates.
Administrators
-
Create and manage global templates available to all faxboxes in the tenant.
-
Create and manage faxbox-specific templates for individual faxboxes.
-
Manage the initial cover page.
Faxbox owners
-
Create and manage faxbox-specific cover pages for faxboxes they own.
-
View and assign initial and global cover pages to their own faxboxes.
Cover page template
You need a Microsoft Word (.docx) file containing your cover page design.