
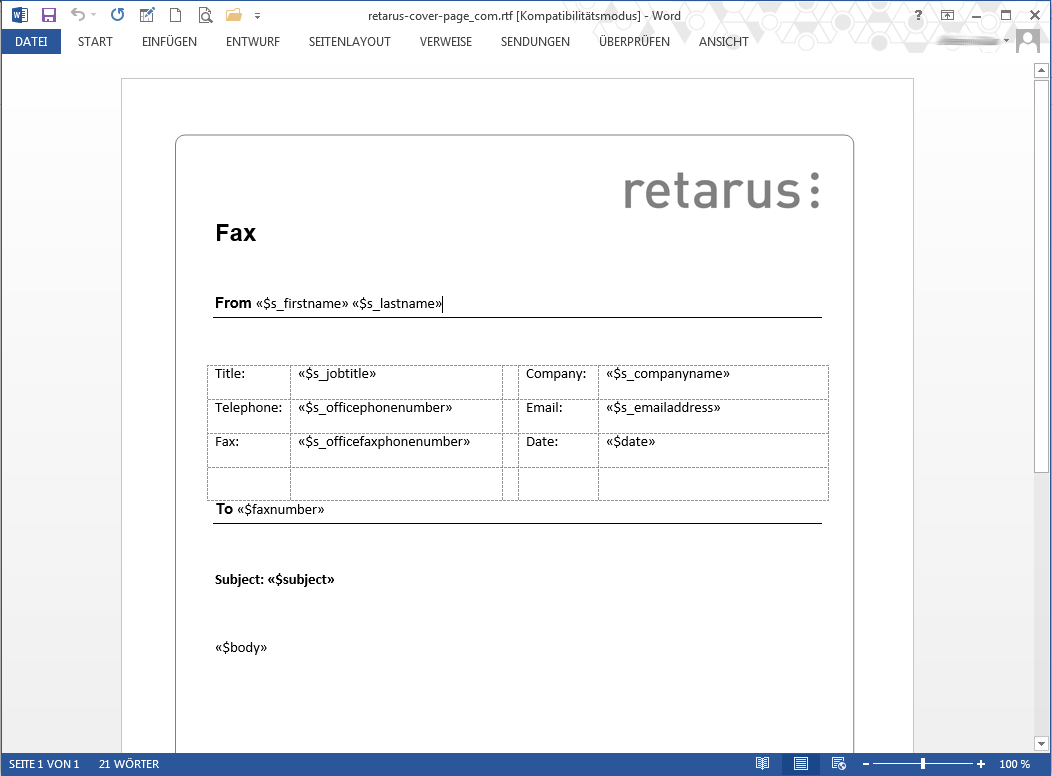
Although fax cover pages used with Retarus Cloud Fax can be created with any word processing program, Microsoft Word is recommended. It's advisable to use programs that support a mail merge function, as this option is used to compile the personalization fields. You can insert a merge field by clicking Insert - Field (next to the Text Box drop-down menu in the Insert menu) and then selecting a field name and property from the Field menu.

Supported formats
Cover pages are supported in RTF format, allowing you to configure and customize your cover pages using any standard word processing application.
Designing cover pages
Logos, letterheads, and other information can be included on your cover page as permanent design elements. However, keep in mind that printed output will be in black and white, and color logos will appear in shades of gray.
Predefined personalization fields
In addition to the personalization fields that you can define, there are seven predefined fields. If you want to use these fields, they must appear on your cover page in the format shown in the following table:
|
Field name |
Description |
|---|---|
|
$date |
Transmission date. |
|
$time |
Transmission time. |
|
$subject |
Subject (reference) as formulated in the email. |
|
$sender_email_address |
Email address of the sender. |
|
$faxnumber |
Fax number of the recipient. |
|
$pages |
Number of pages in the fax. |
|
$body |
Content of the email body. Only text is supported - HTML content cannot be displayed (but will appear on the next fax page). |
|
$displayname |
Displays the friendly name of the recipient's address on the cover page, if it is saved in the sender's email client. |
📌 Creating serial print fields in Microsoft Word cover pages
As previously explained, Microsoft Word is the preferred editor for creating the serial print fields. To ensure that the desired personalization information is processed correctly, it is strongly recommended that the corresponding fields in the cover page template be created using the Serial Print feature in Word, which can be accessed by clicking Insert - Quick Parts - Field and then selecting MergeField from the Field names drop-down menu. Keep the default format of '(none)'.
Additional personalization fields
You can include any information about the sender of the fax message. Microsoft Word is the recommended editor for compiling mail merge fields. There are no restrictions on the configuration of these fields, but you should avoid giving a field the same name as one of the predefined personalization fields. Also, unlike the predefined personalization fields, the custom fields must begin with an "s_".
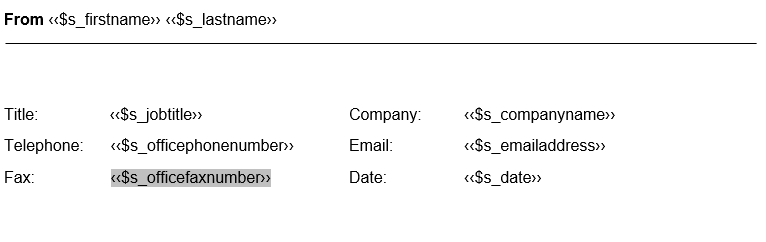
To create a custom field, start by naming and highlighting it using the above format, then select a merge field by clicking Add - Dynamic - Field in Microsoft Word. The field should be named using the same format as the highlighted field above.
Completing personalization fields
The personalization information is stored in your Email-to-Fax account in the EAS portal (see Configuring cover pages in EAS).