
Setting up Visual Studio Code
Introduction to Visual Studio Code
https://vimeo.com/1129901489/4933ffbae1Visual Studio Code (VS Code) is a lightweight yet powerful code editor widely used for cloud-based and data-centric development. To get started, make sure you have the latest version of VS Code installed.
When working with C# and Azure Functions, you’ll need a few essential components to handle data and integrate with cloud services:
Newtonsoft.Json– for efficient data serialization and JSON handling.Azure.Storage.Blobs– to enable interaction with Azure Blob Storage.CsvHelper– since standard .NET libraries don’t natively support CSV writing, this library simplifies CSV file creation and manipulation.
In addition, you should install the Azure Functions extension for VS Code. This extension allows you to create, manage, and deploy Azure Functions directly from the editor. Once installed, ensure you’re connected to your Azure subscription, which links VS Code to your cloud environment for seamless deployment and resource management.
With these tools and extensions configured, you’ll be ready to develop, test, and deploy Azure Functions that handle CSV data efficiently within VS Code.
Setting up a project
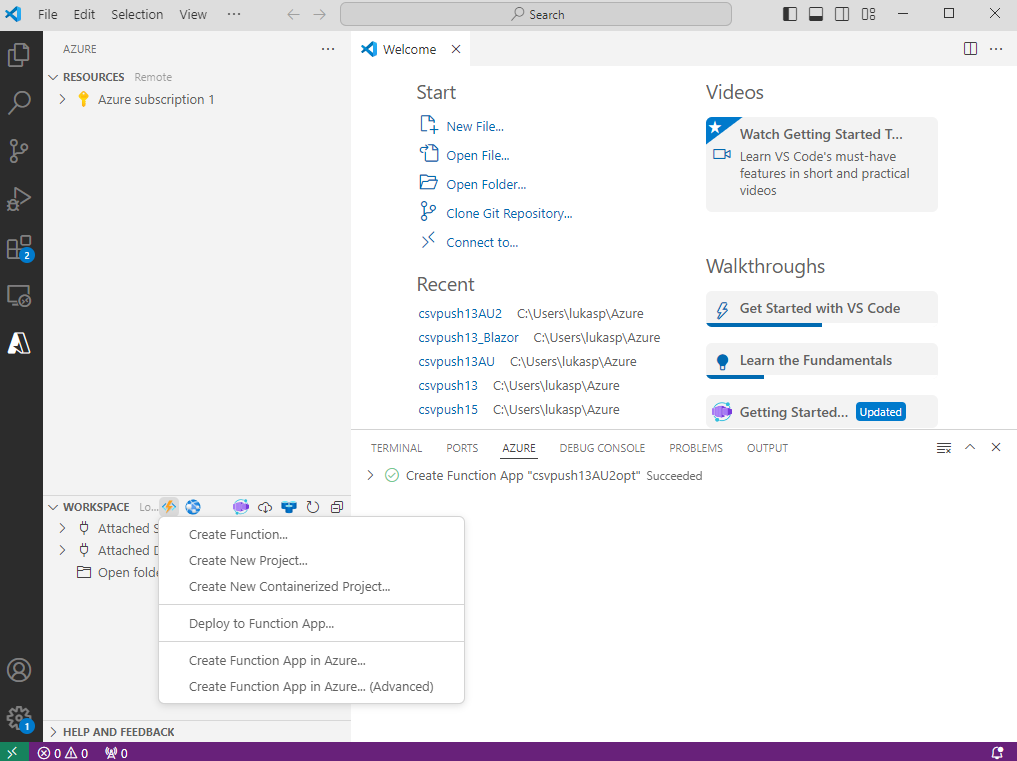
https://vimeo.com/1129905738/5222e24c78Begin by creating a new project (Workspace - Create New Project).
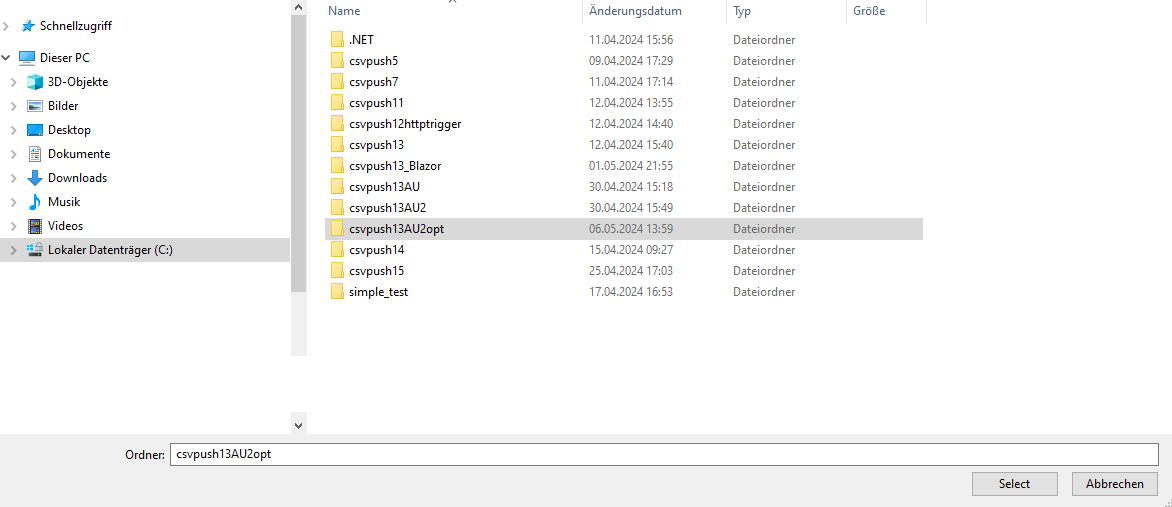
Navigate to the folder where you’d like to store your project and open it.
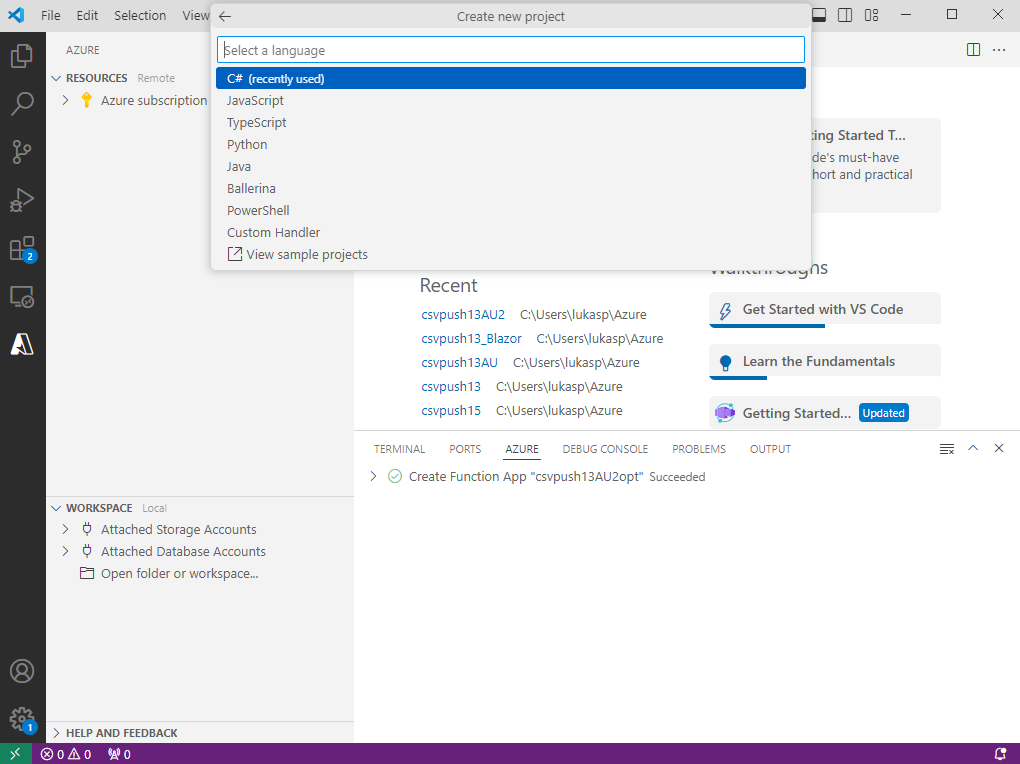
Function Apps support multiple programming languages. This manual is based on C#. Other supported languages include JavaScript, TypeScript, Python, Java, Ballerina, etc.
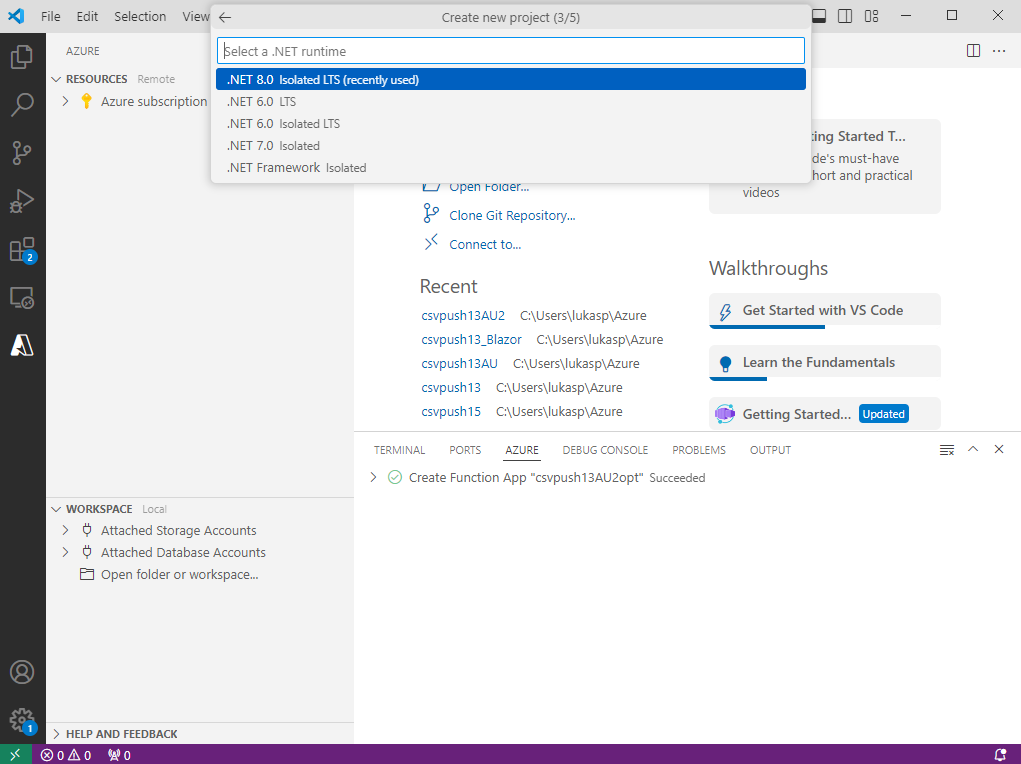
Make sure that the latest .NET is selected (.NET 8 in this example).
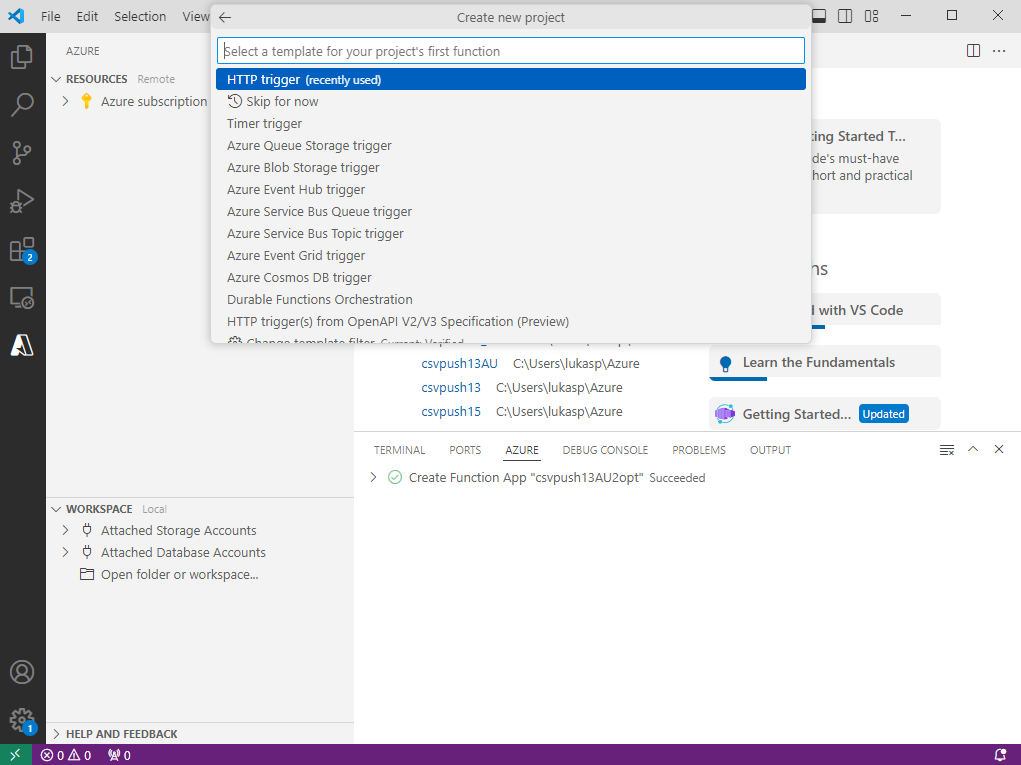
Choose a template for the project's first function. Different trigger functions are available. This manual covers HTTP trigger and Timer trigger.
Creating an HTTP trigger
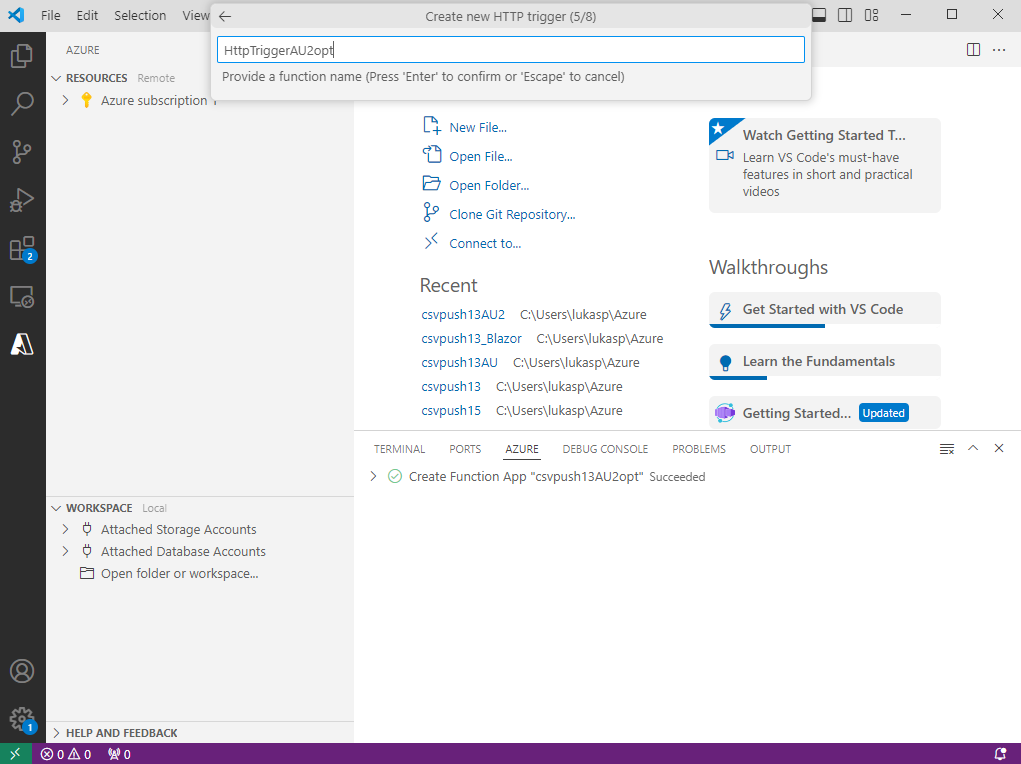
Define a function name.
Specify a namespace.

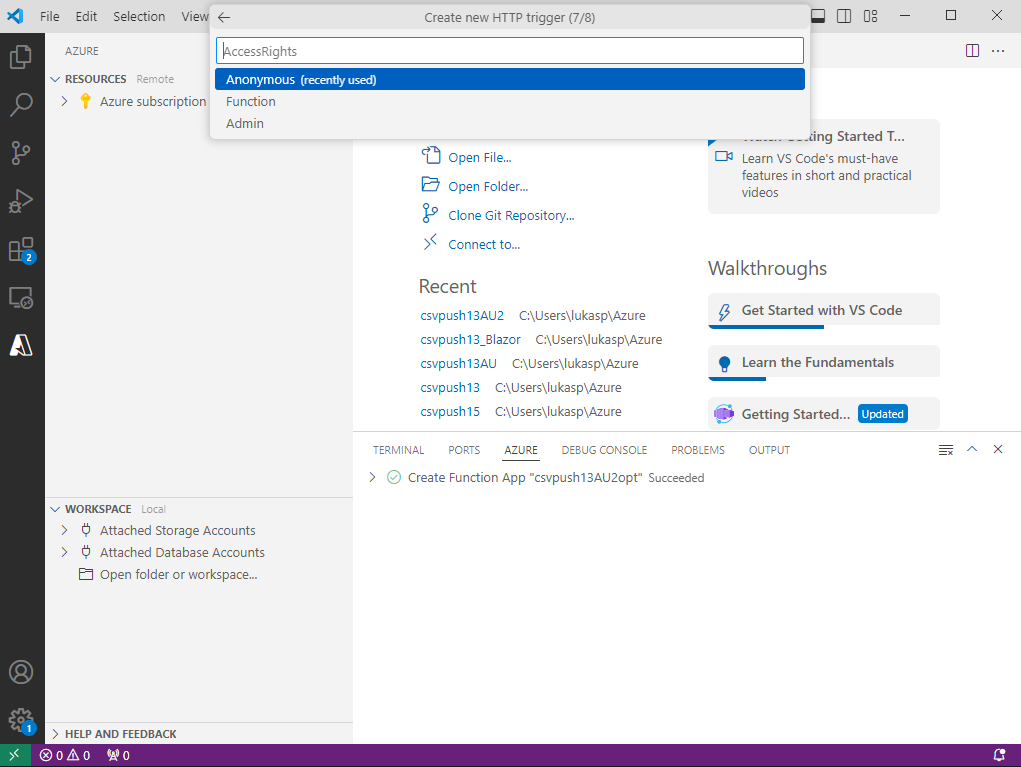
Set the appropriate access rights for the function.
In this manual, the access level is set to Anonymous, but the final choice depends on company policy. For more details on access rights, refer to the Microsoft website.
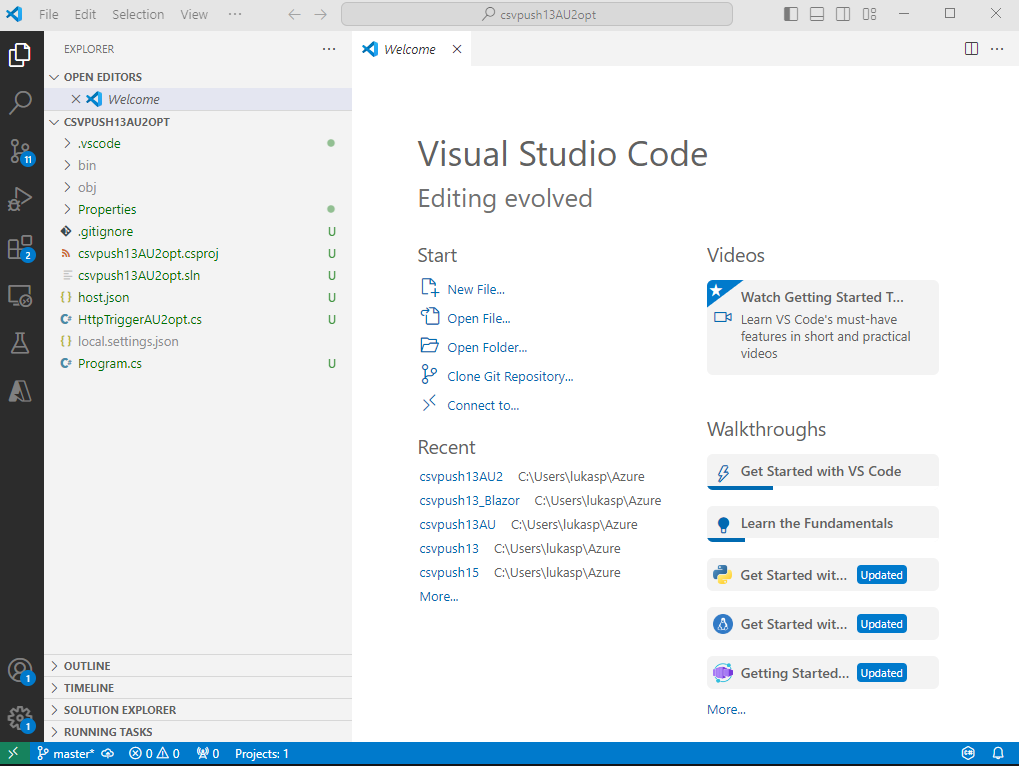
Check the final folder structure.
The primary program file is named <function_name>.cs. In the following example, the main file is HttpTriggerAU2opt.cs.
Creating a Function App
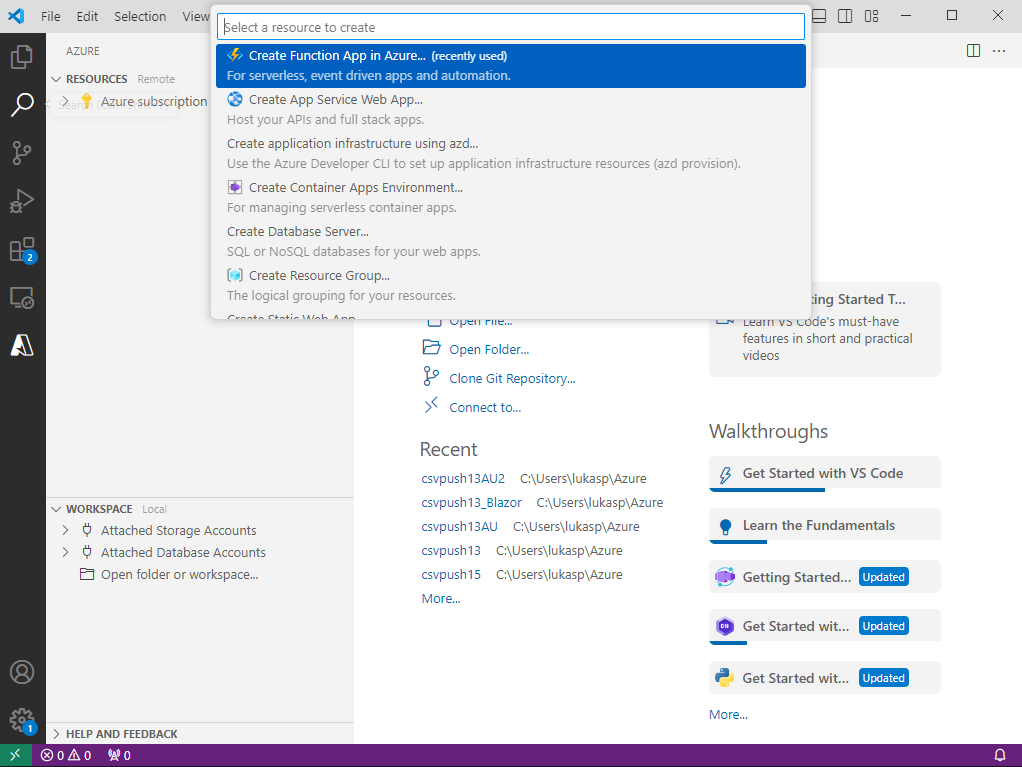
Open the command palette and enter:Create Function App in Azure
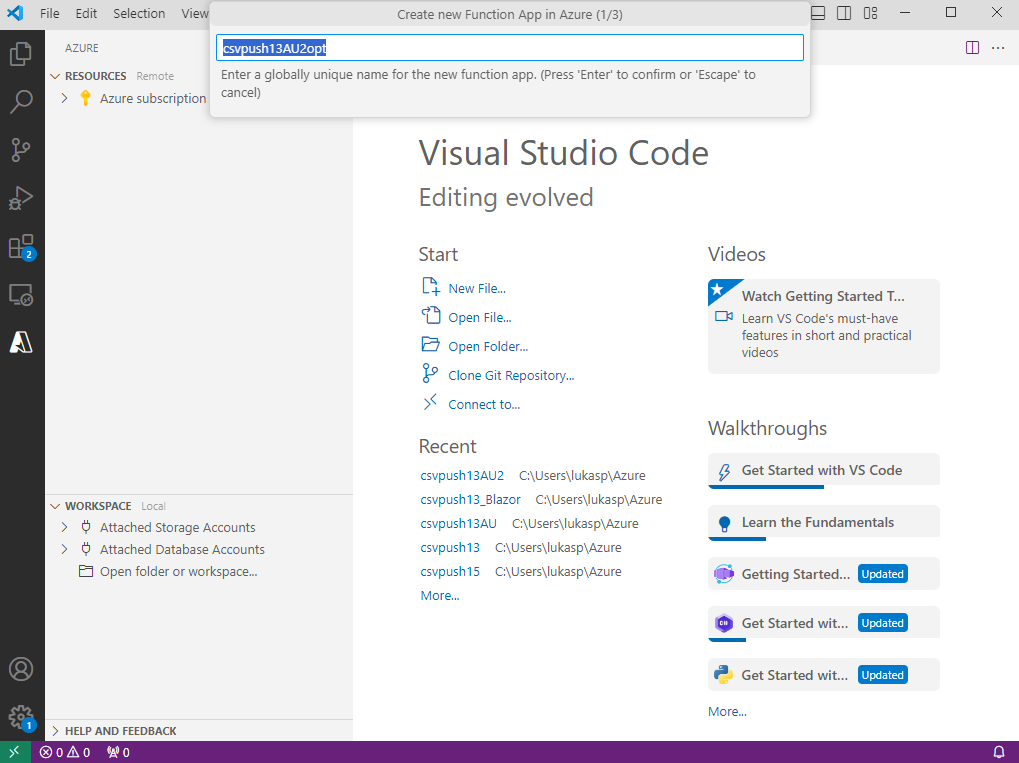
Type a name for your Function App and press Enter.
Set the latest .NET version as a runtime stack.

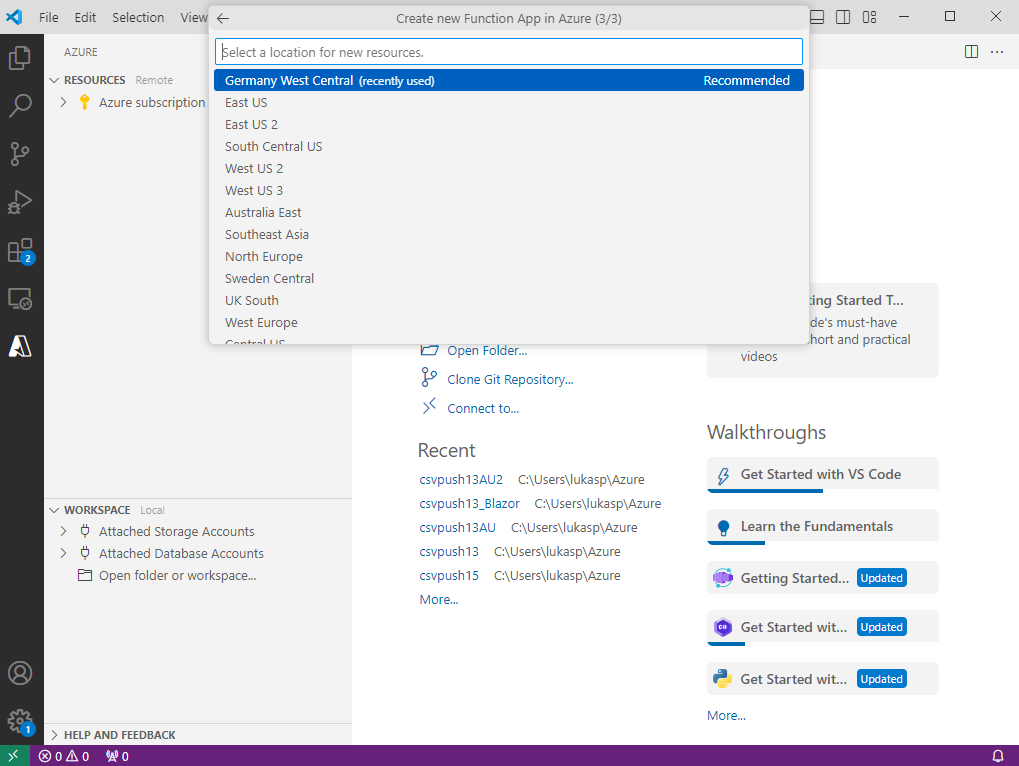
Select a location for new resources.
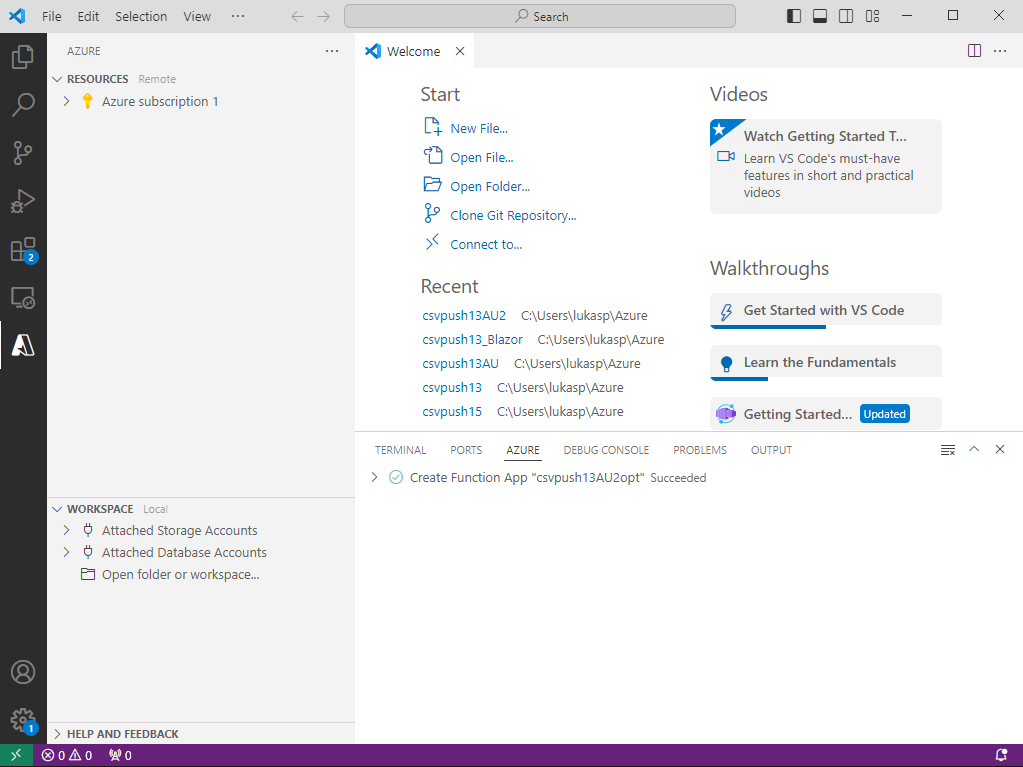
Wait until the following message appears:Create Function App "<name>" Succeeded
Creating an HTTPS trigger
Local trigger
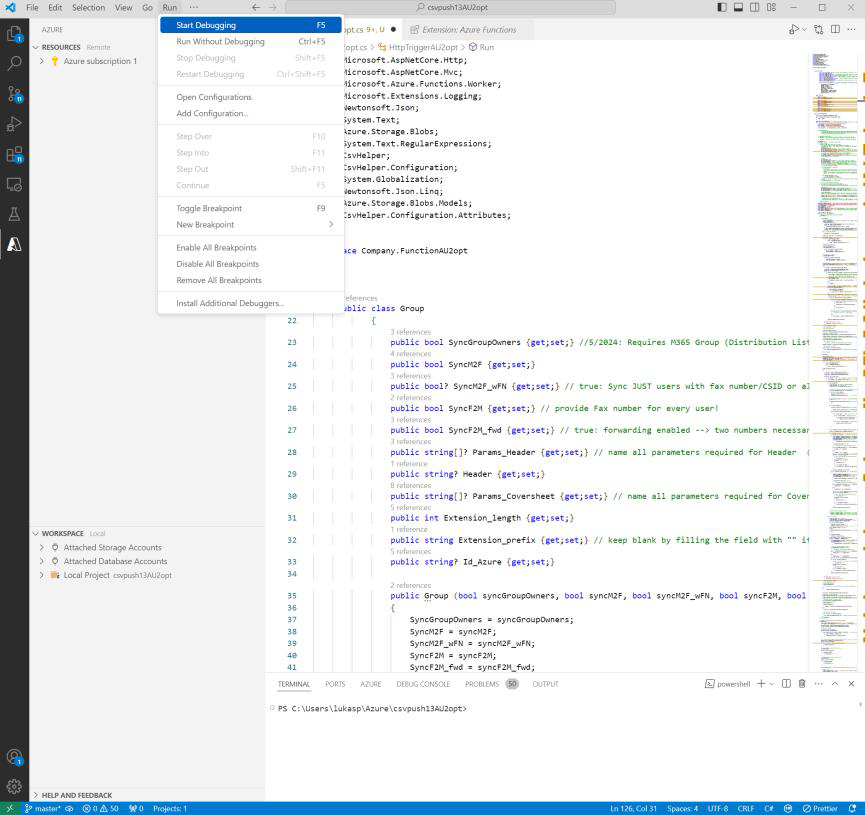
To run the function locally, click Run → Start Debugging.
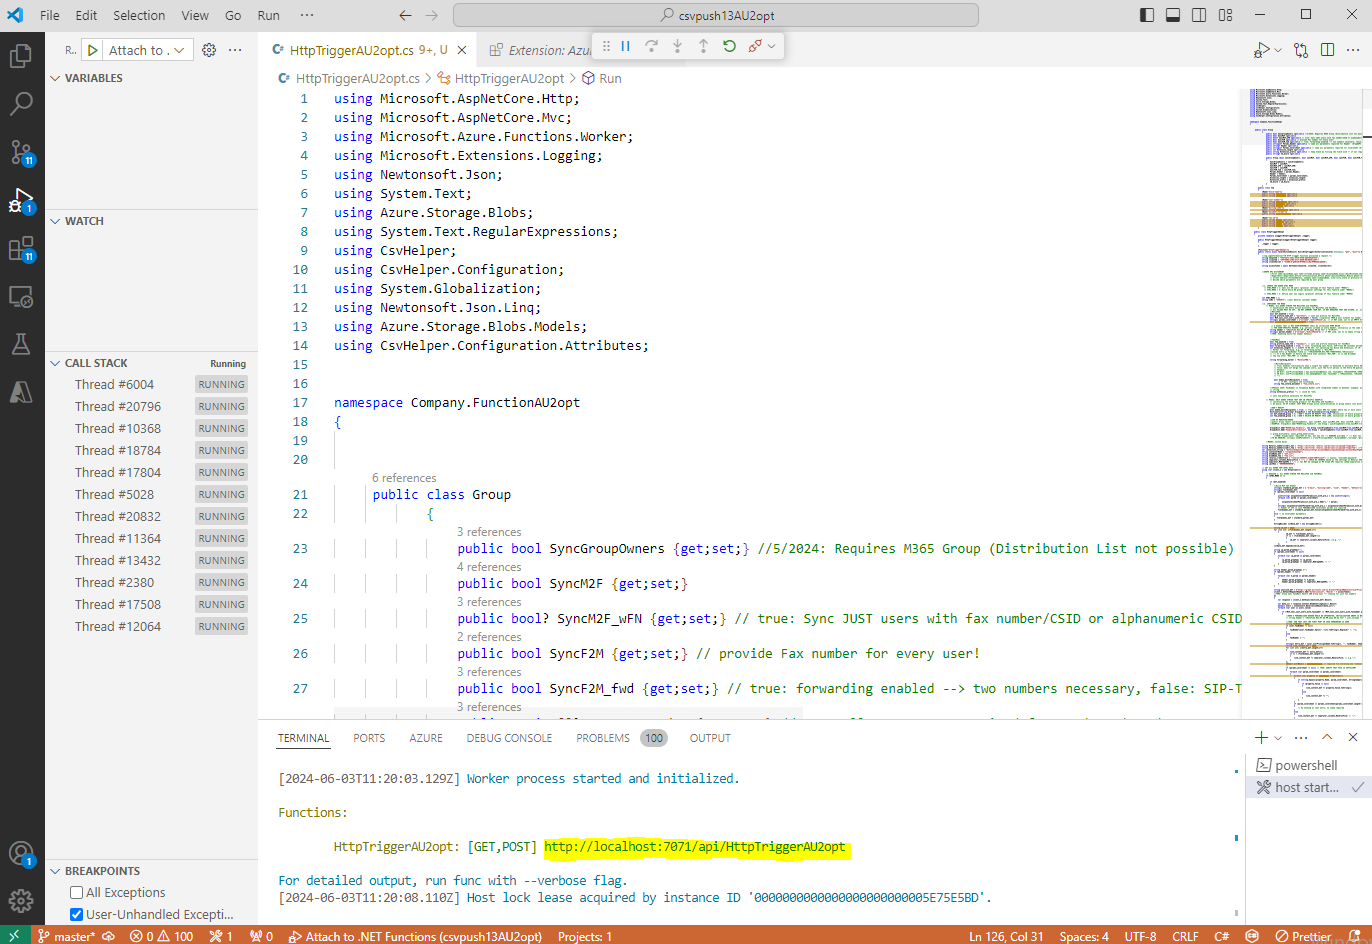
Copy the generated localhost link and paste it into a browser of your choice. This will trigger the synchronization.
Public URL HTTPS Trigger
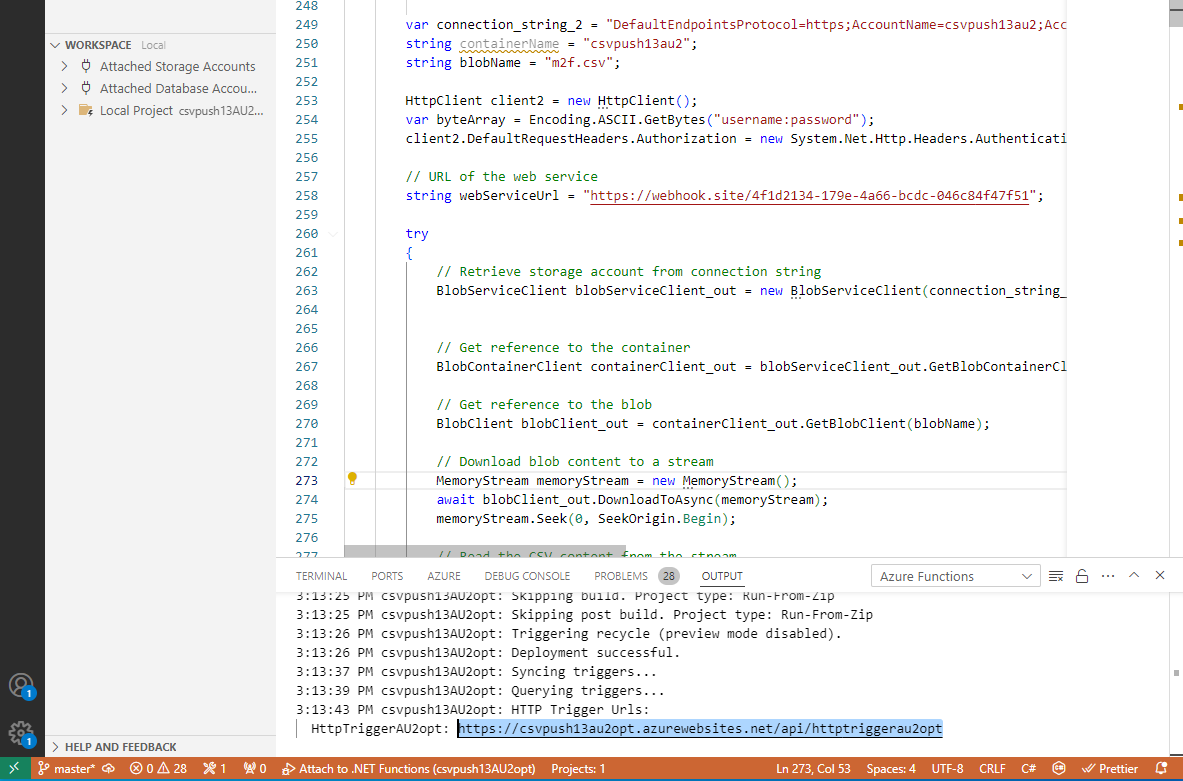
To enable a public URL trigger, the application must be deployed to Azure. In the workspace, click Deploy to Azure and deploy it to the desired Resource Group.

HTTP Trigger - checking results
When clicking on either the localhost link or the public URL, the function triggers a process that executes the following steps:
Retrieves data from the Entra Admin Center using Graph API.
Processes the data based on the configured settings.
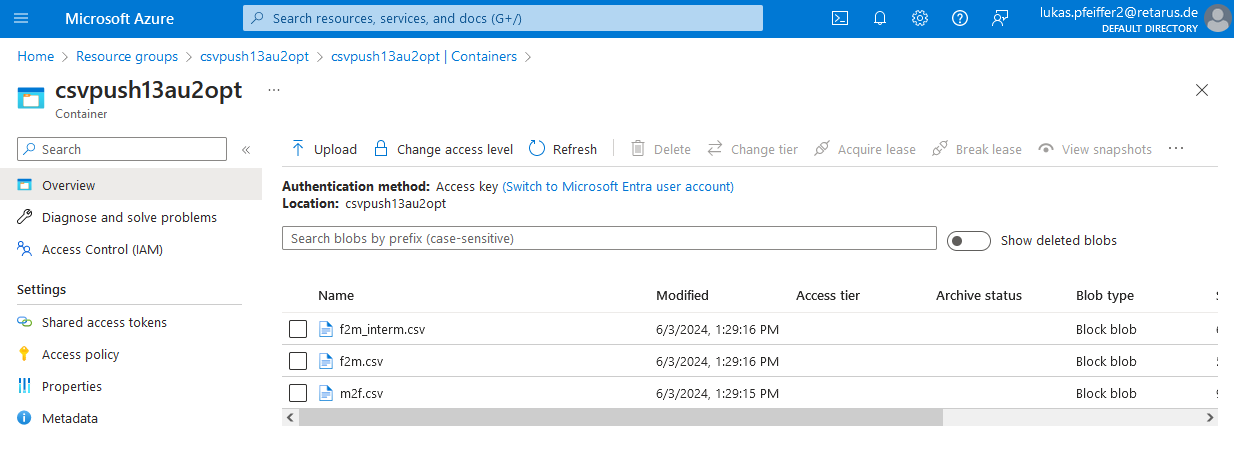
Generates one or more of the following files:
m2f.csvf2m.csvf2m_interm.csv
Uploads the files to Blob Storage (for customer reference of what is sent to Retarus).
Retrieves the data from Blob Storage.
Sends the data to the Retarus secure HTTPS endpoint.
If files with the same name already exist in the Blob Storage container, they are overwritten. Below is an example of a push requiring the files m2f.csv, f2m.csv, and f2m_interm.csv:
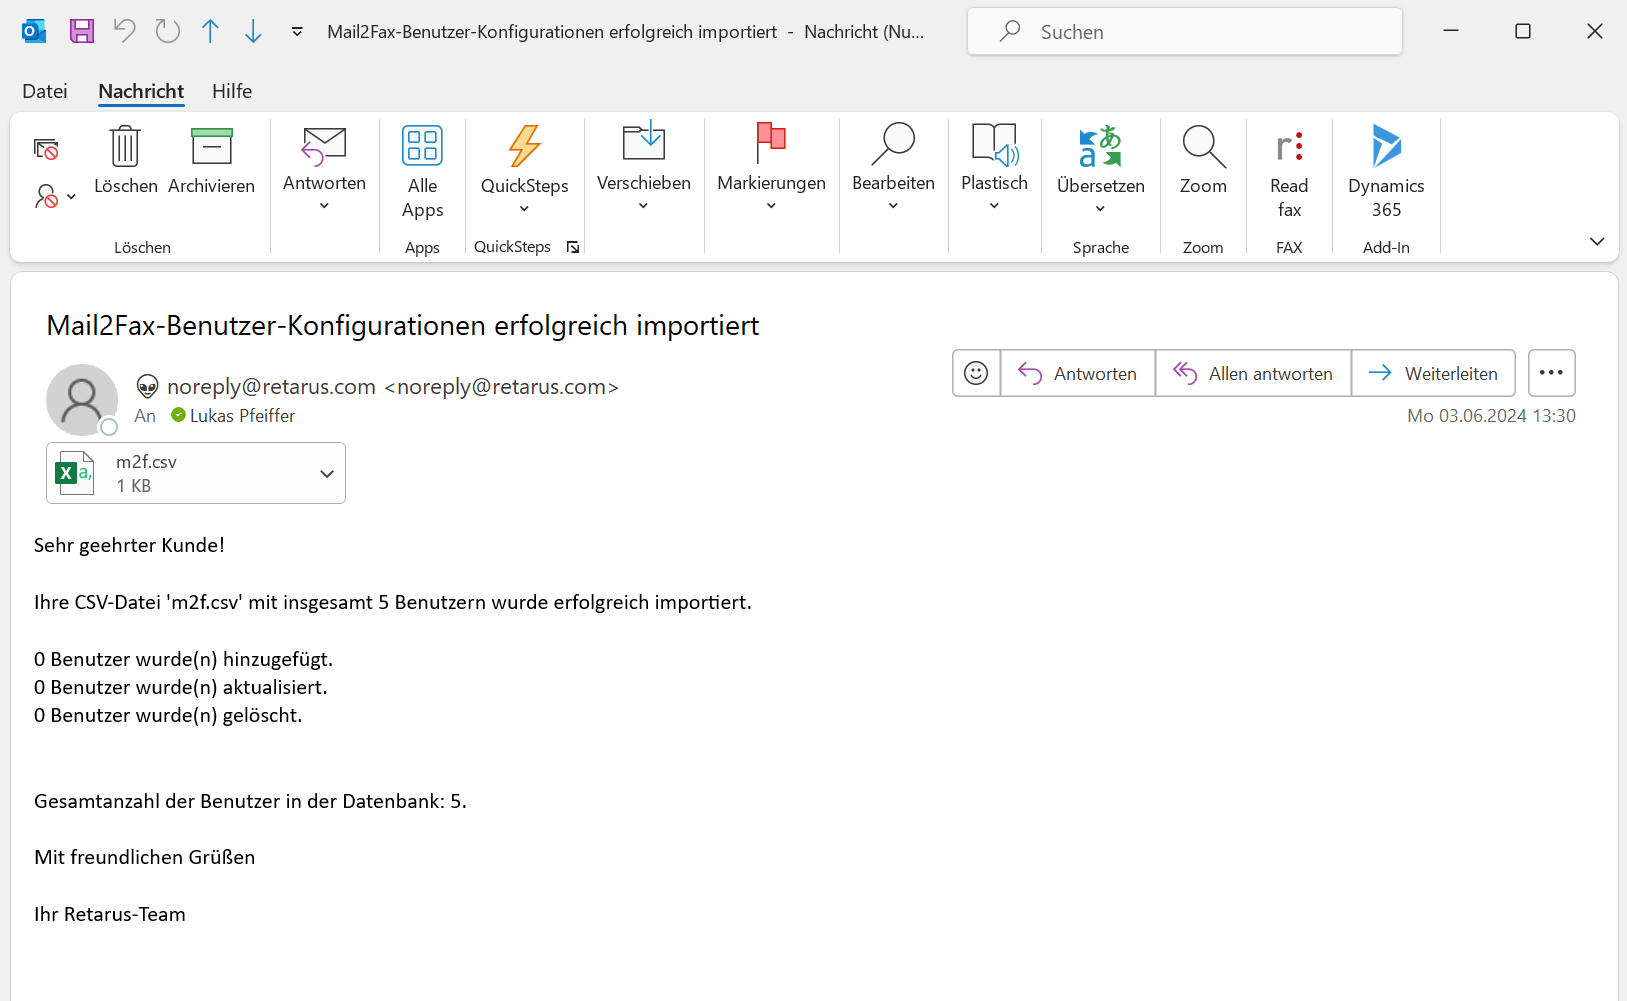
If your email address is listed in Retarus Directory Synchronization as a recipient for user synchronization upload reports, you’ll receive an email for each service. This email may contain the pushed .csv files, if configured.
For Email-to-Fax, the email may look similar to this:
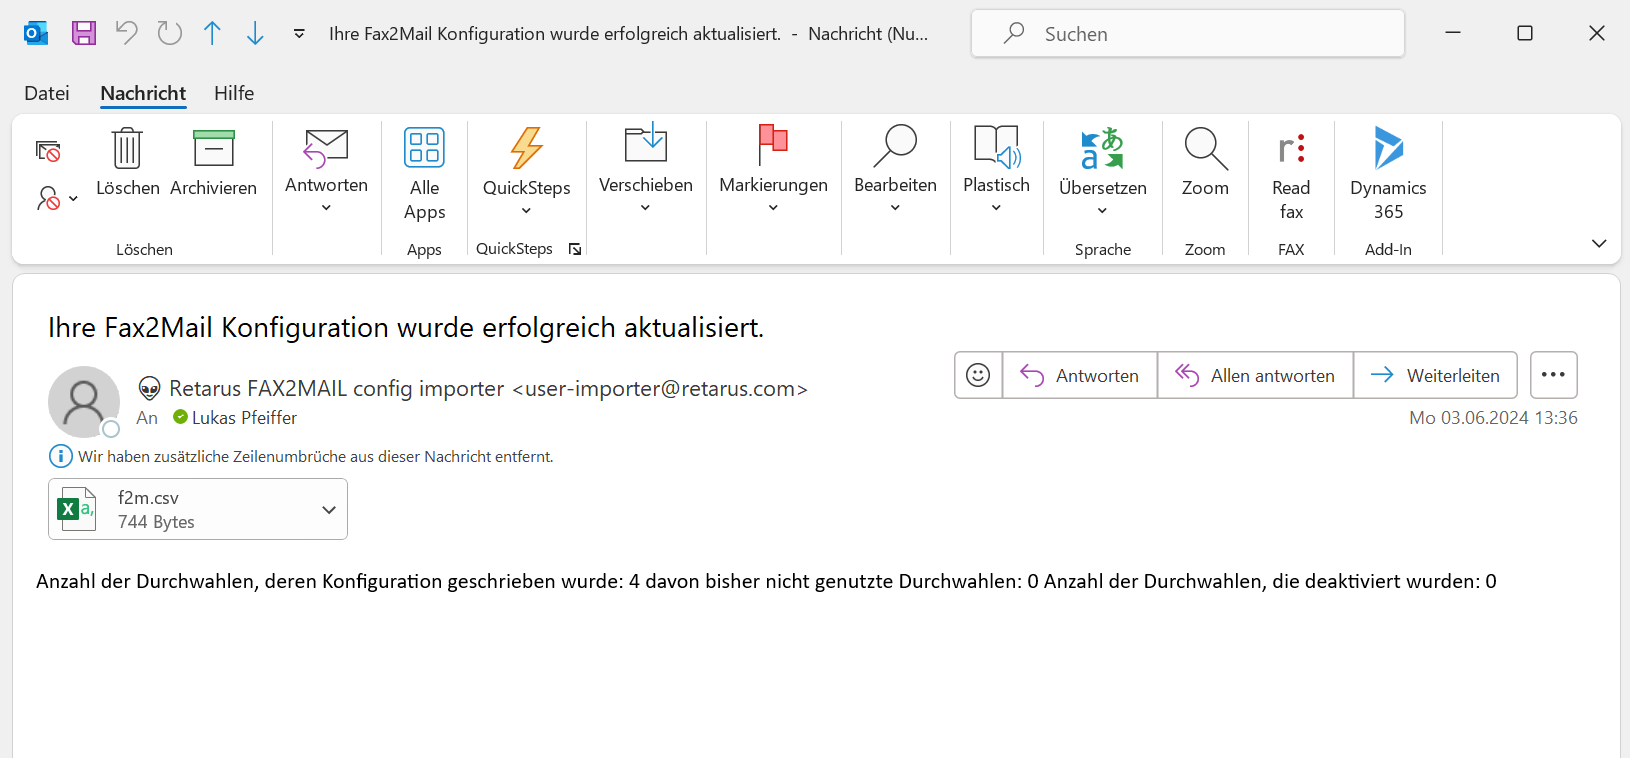
For Fax-to-Email, the email may look similar to this:
For detailed configuration instructions on Retarus User Synchronization via HTTPS Push (DirSync), refer to the following manuals:
Setting up Azure connection and synchronization parameters
https://vimeo.com/1129912660/23f1584b03After creating your project and testing the HTTP Trigger, the next step is to configure the Azure Function for your organization’s environment. Below are the basic configuration steps you’ll need to complete:
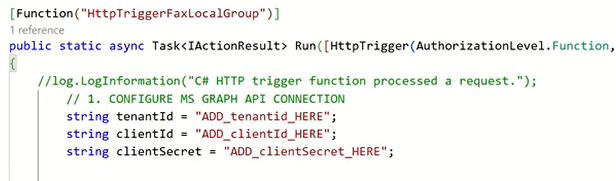
Obtain and enter your Tenant ID, Client ID, and Client Secret from the Azure portal. These values authenticate the function and enable secure communication with your organization’s Azure Active Directory.
Add the connection string for the appropriate Azure Blob Storage account, and specify the container name where the CSV files will be stored and processed.

Do not change the default CSV file names (
m2f.csvandf2m.csv). They are required for correct synchronization.Provide the Retarus username and password for your tenant. These credentials are supplied by your implementation engineer during onboarding.

Keep the predefined CSV separator and file format. These ensure multi-recipient lists (comma-separated) are parsed correctly. Only modify limits or end markers if customization is specifically required.
Choose the Azure sync mode:
Mode 1: Synchronizes all Active Directory users.
Mode 2: Synchronizes specific Azure AD groups.
Mode 3: Allows custom logic for advanced configurations.
In most cases, Mode 1 or Mode 2 is recommended. Seel also Sync modes.

Specify your Retarus customer number, which uniquely identifies your organization in the Retarus Directory Synchronization system.

You may also configure additional parameters such as fax number and country code settings, forwarding markers, and other optional properties to suit your organization’s needs.
Creating a Timer trigger
Configuration
https://vimeo.com/1129947575/d4b99048dfDeployment
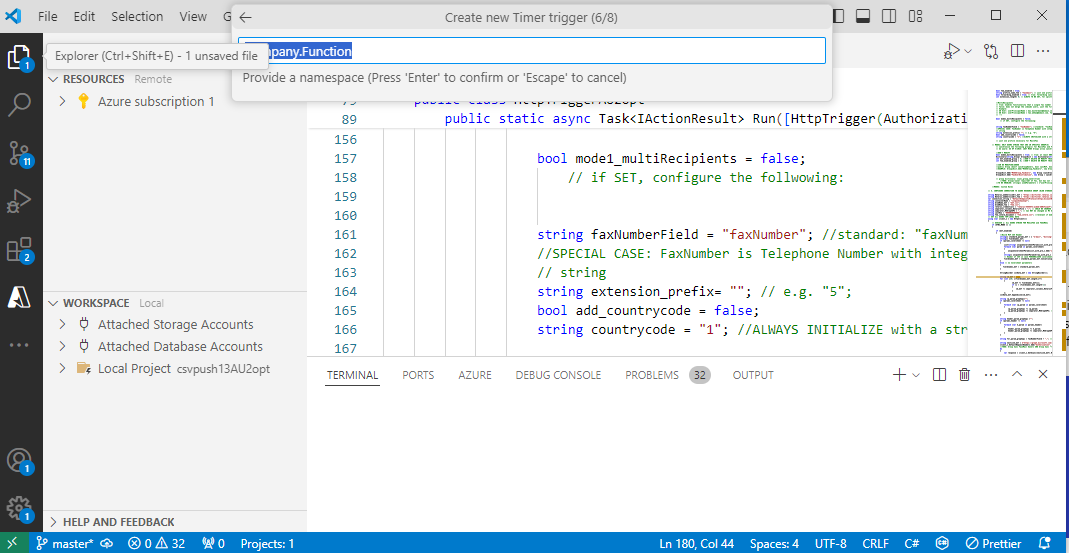
https://vimeo.com/1129949829/ceaa778120Enter a name for your timer-triggered function.
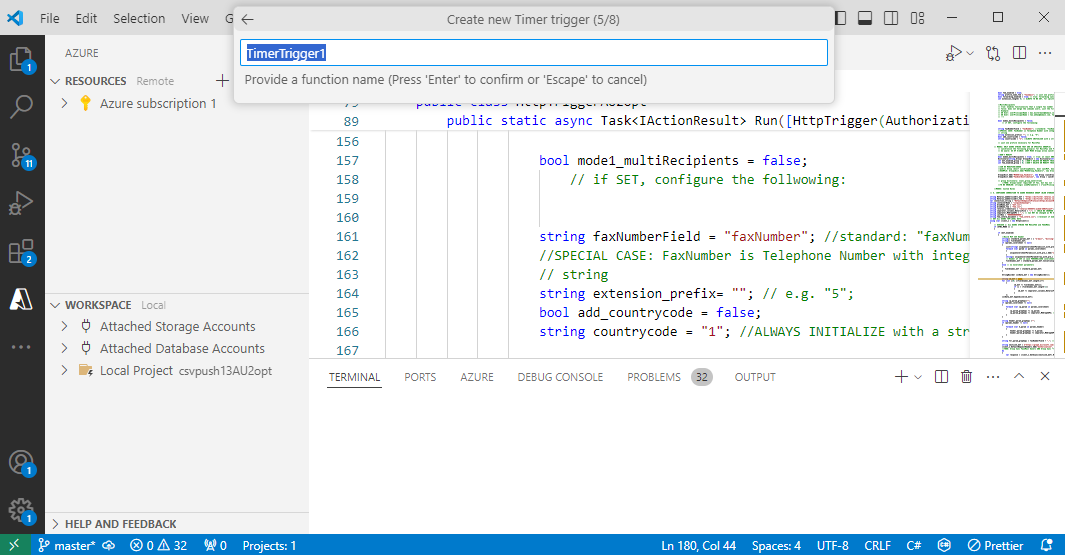
Specify a namespace.
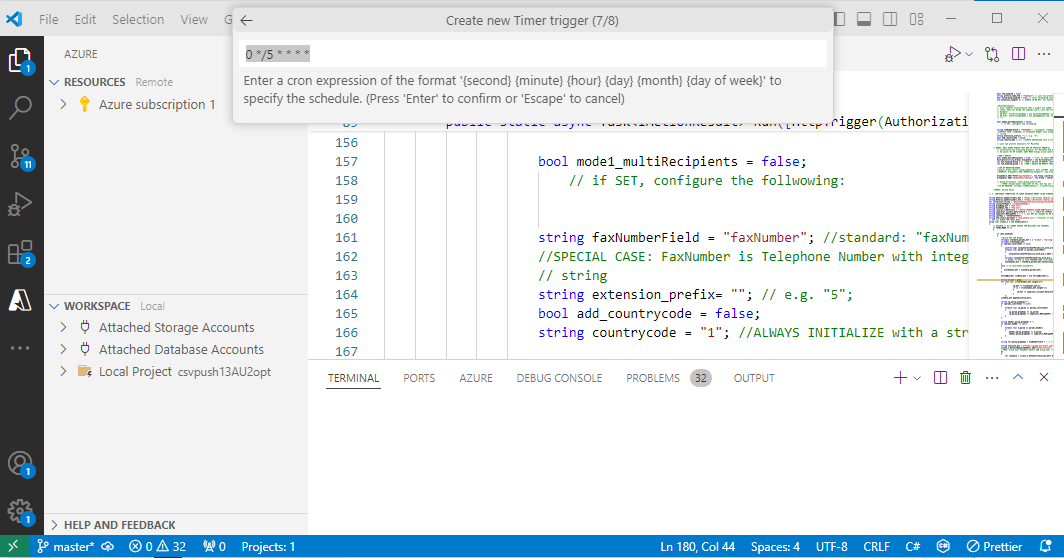
Create a Timer trigger Cron job.
Required Libraries (NuGet)
The following table lists the required dependencies that must be installed and referenced in your code.
Module | “Using” command | Package command (NuGet) |
|---|---|---|
Newtonsoft |
|
|
Azure Storage Blobs |
|
|
CsvHelper |
|
|