
The Profiles tab allows you to edit existing profiles and perform a number of other functions. For example, you may want to have several profiles in the following cases:
-
You have more than one Retarus Fax Inbound Service.
-
You have branches abroad.
-
You need to encrypt some faxes but not others.
-
You send faxes to different time zones.
The following configuration options are available at the very bottom of the Profiles tab:
The table below lists the available options:
|
Option |
Description |
|---|---|
|
Edit |
Edits an existing profile. Select a profile in the table and then select the Edit button to open it for editing. |
|
Activate/deactivate |
Activates/deactivates a profile. When a profile is deactivated, its fax numbers are also deactivated and cannot be reached. |
|
Add profile |
Adds a new profile. |
|
Copy |
Copies the settings of a profile to a new profile of the same service. After selecting a profile from the list of all profiles and clicking Copy, a pop-up window appears allowing you to name the new profile. Once you have done this and clicked on Save, you are automatically taken to the Settings menu where you can edit the configuration of the new profile. |
|
Delete |
Deletes a profile. |
|
Download |
Downloads the information about the profile to a CSV or XLS file. |
|
Profile numbers |
Displays the fax numbers assigned to the profile. |
|
Assign number to a profile |
Assigns one or more unassigned numbers to the profile. |
If you want to add a number or numbers to a profile, select the profile in the Profiles table and click Assign number to a profile. Only unassigned numbers are displayed. If the profile is a Fax-to-FTP or Fax-to-Application profile, the following window opens:
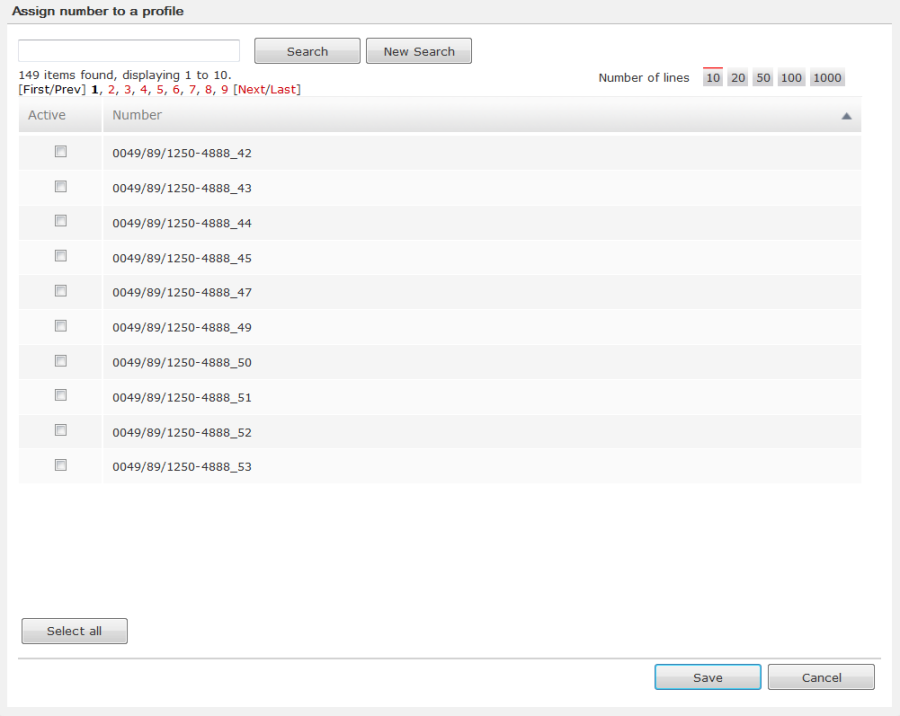
You can select numbers one at a time, or you can select all the displayed numbers by clicking Select all, and then click Save to complete the mapping process.
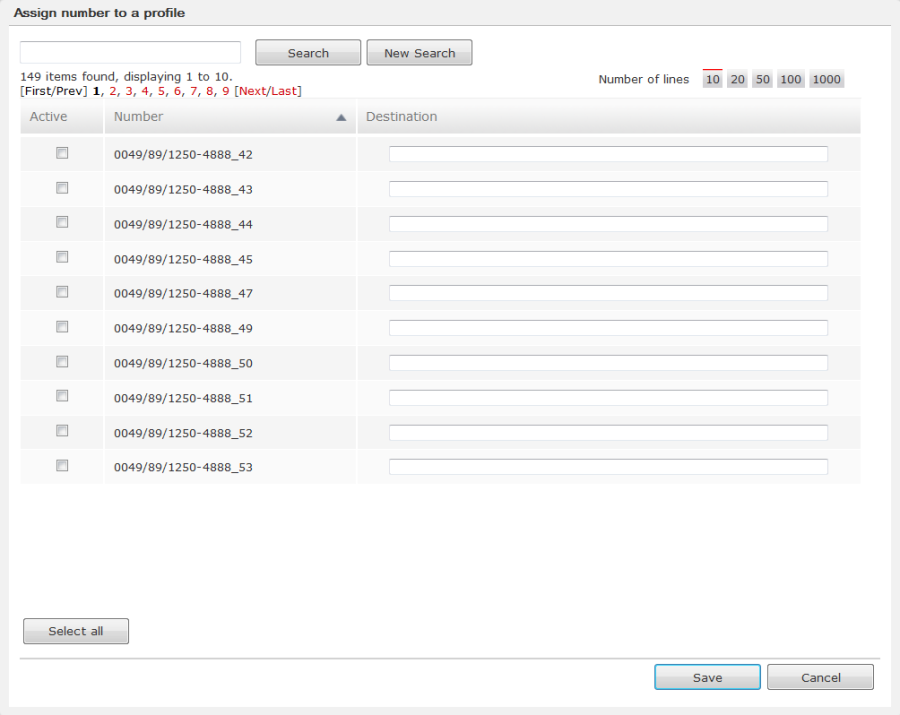
If you click on a Fax-to-Email profile, the Assign number to a profile window has a Destination field where you can enter a destination email address for the number.
Once you select the Save button, the numbers you assigned to the profile are automatically displayed, for example:
