
If you frequently use the same filters, columns, or date ranges, you can save them as a custom view. This allows you to quickly restore your preferred configuration without manually setting it up each time. Custom views are available for both Inbound and Outbound SMS Reporting.
Saving a custom view
-
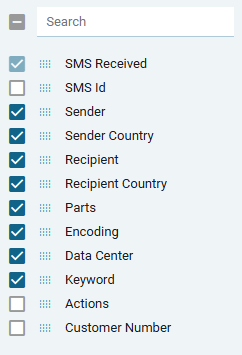
Click COLUMNS.
-> The left side panel opens showing all available columns.
-
Select or deselect columns as needed.
-
Hidden columns can be re-added at any time.
-
The SMS Received column remains visible and cannot be hidden.
-
-
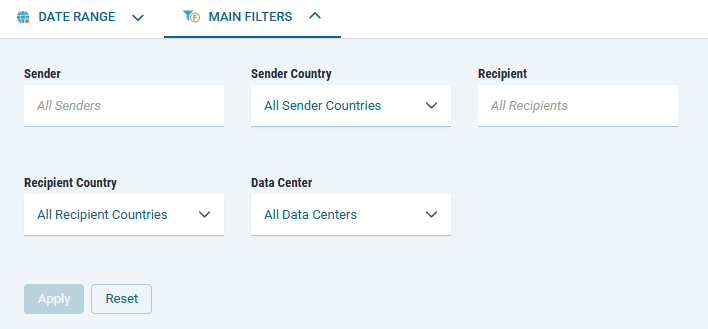
Click the MAIN FILTERS tab and apply your desired filters.
-
Click Save View.
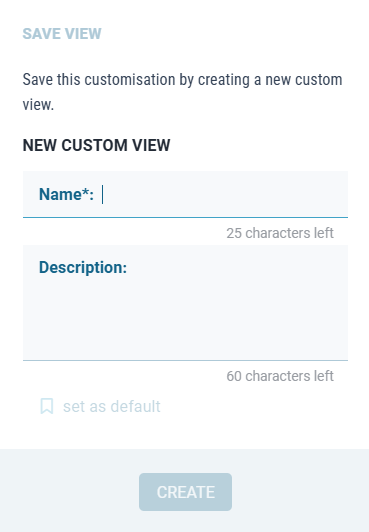
→ The Save View dialog opens.
-
Enter a name for your custom view (up to 25 characters).
-
Optional: Provide a brief description of the view’s purpose (60 characters).
-
Optional: Set the view as default by clicking set as default. The default view loads automatically when you open SMS Reporting.
The option becomes active once a valid name is entered. -
Click Create.
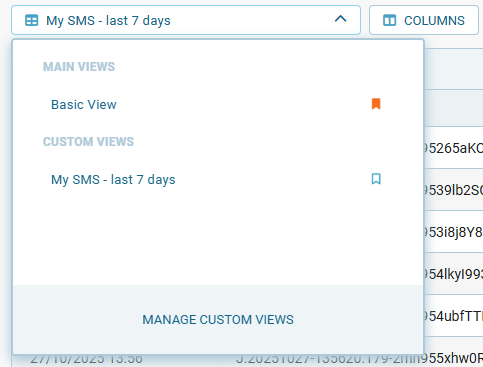
Once saved, the view appears in the CUSTOM VIEWS list. To apply it, select the view from the list.
Updating a custom view
There are two ways to update an existing custom view.
Update view content (columns or filters)
If you modify the active report (for example, by adding or hiding columns, or changing applied filters), you can save these adjustments back to the same view:
-
Choose the custom view whose content you want to update.
-
Make your desired changes in the reporting screen.
-
Click SAVE VIEW.
→ The Save View dialog opens.
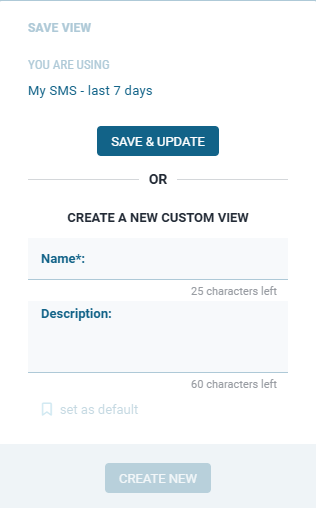
-
Click SAVE & UPDATE to apply your new layout to the currently selected view.
You can also create a new view from the same dialog by entering a new name and clicking CREATE NEW.
Update view properties
-
In the list of available views, select Manage Custom Views.
-> The Manage Custom View window opens.
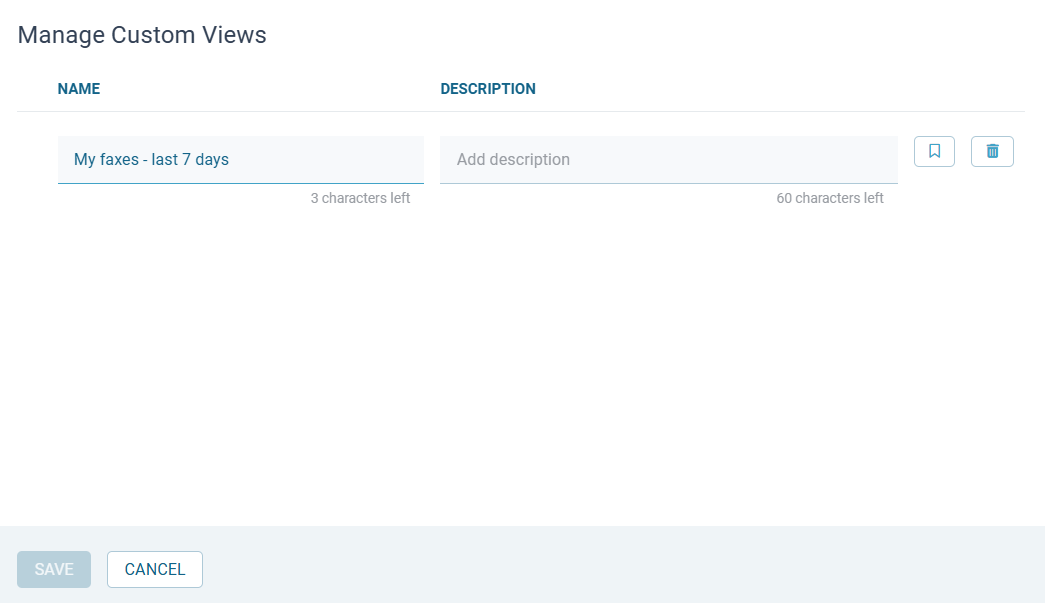
-
Locate the view whose properties you want to change.
-
Update the name, description, or default flag as needed.
-
Click Save to confirm your changes.
Deleting a custom view
-
Open the Manage Custom Views dialog.
-
Click the trash icon next to the view you want to delete.
→ The confirmation dialog opens. -
Click Yes, delete to confirm your operation.
-> The view is permanently removed from your custom views list.