
The timezone and date range settings control the time period and timezone for the data displayed in the UDR report.
Changing the timezone
-
Open the UDR reporting screen.
-
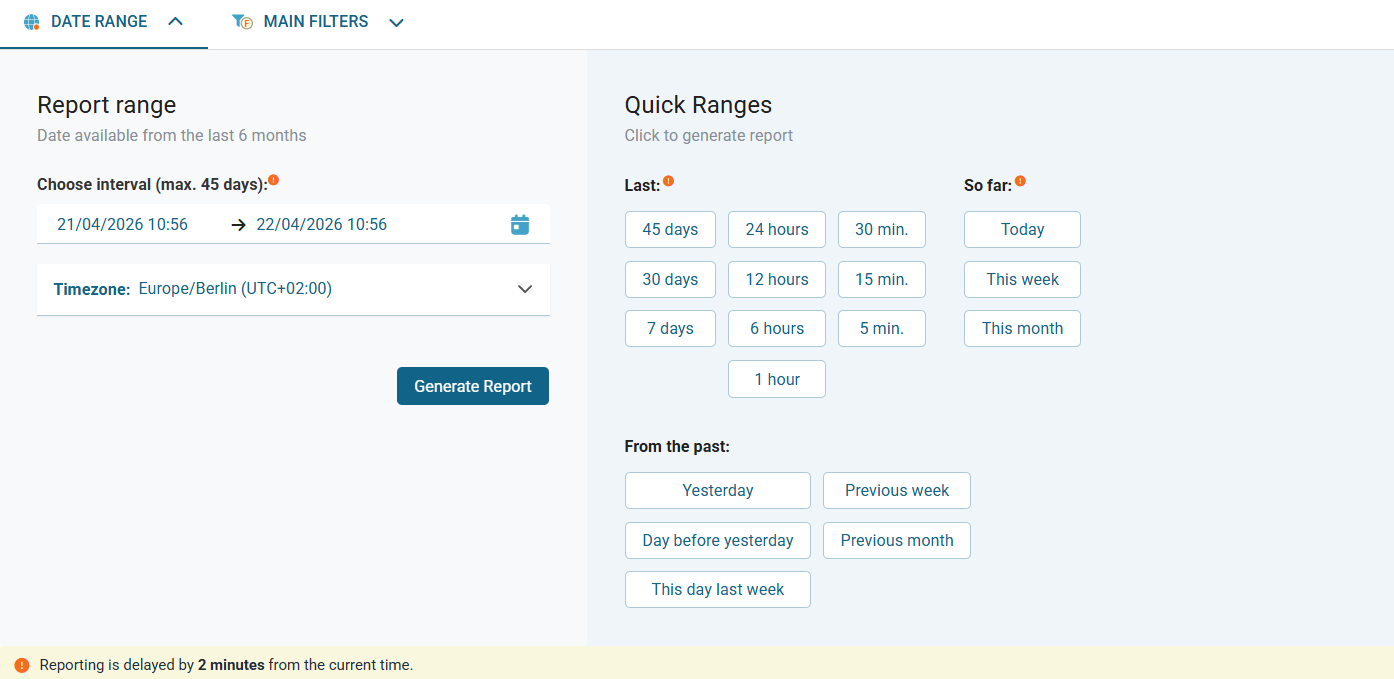
Click the DATE RANGE tab.
→ The section expands to display the date picker panel.
-
In the Timezone dropdown, select your desired timezone.
-
Click Generate Report.
→ The report is generated and displayed using the selected timezone.
Selecting a date and time range
You can generate reports for a specific custom date/time range or choose a preset quick range. The default range is Last 24 hours.
📌 Temporary data and time preferences
Date, time, and timezone settings are temporary. They reset to default values when you exit UDR Reporting.
To set a custom range:
-
Open the UDR reporting screen.
-
Click the DATE RANGE tab.
-
In the Choose interval field, use the two-month calendar to select a start and end date.
-
Adjust the time if needed.
→ The selected range can span up to 45 days within the six-month retention period.
-
Click Generate Report.
→ The report is generated and displayed for the specified interval.
To use a preset quick range:
-
In the Quick Range section, click one of the available options.
→ The report is generated immediately after selecting a quick range.
📌 Timezone and date range are not saved in views
Timezone and date range settings are not part of any saved view configuration. When you load a custom view or switch back to Basic View, you need to set your preferred timezone and date range again.