
Fax Reporting in myEAS provides an easy and convenient way to monitor your organization’s fax usage. Whether you need detailed usage data for troubleshooting or for creating management reports, you can view, download, and print both recent and historical fax transaction data.
The process for working with Inbound and Outbound fax reports is identical. The data columns you see depend on:
-
Which report type you select (Inbound or Outbound)
-
Which view you use (Basic, Custom, or Advanced)
-
Which columns you choose to display
Each report type displays columns specific to its report category. For instance, Inbound reports include columns like Calling Party Number and Fax Translation ID that are not relevant to outbound communications, so these columns are either hidden by default or excluded entirely from Outbound reports.
Viewing fax reports
-
From the myEAS home page, click the FAX button.
→ The FAX Dashboard screen opens. -
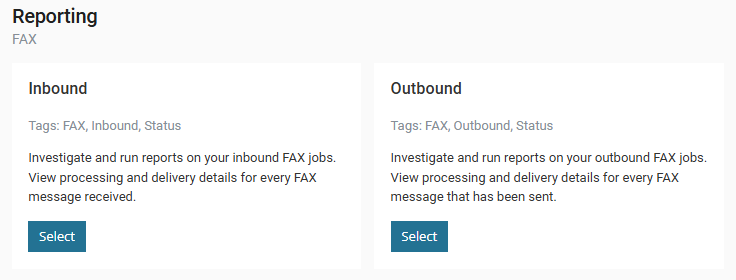
In the left navigation pane, click the Reporting tab.
→ The Fax Reporting main page opens, showing Inbound and Outbound fax reporting options.
-
Under the desired report type, click Select.
→ The reporting screen opens in your selected view (Basic View by default), showing the most recent fax transactions sorted from newest to oldest.
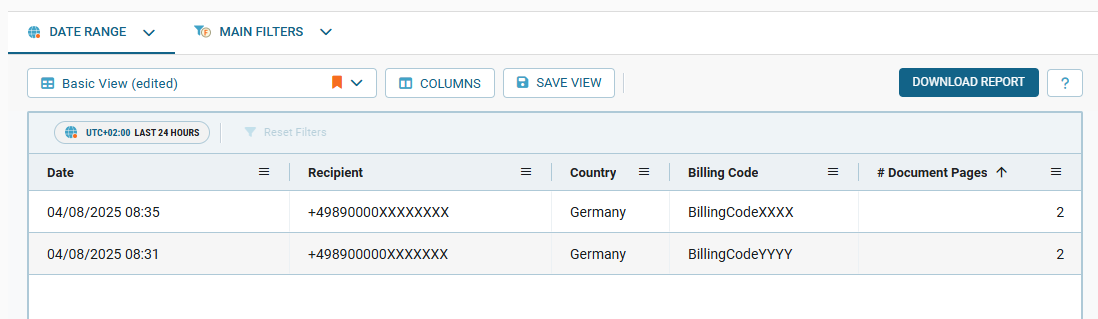
📌 Custom report columns
Administrators and users with the necessary permissions can create a customized report view by clicking COLUMNS and additing additional fields—such as Fax Resolution, Customer, or Archive Status—to their reports.
For more information, see Work with reporting views.