
You can manage how fax reporting data is displayed by switching between available views and setting a preferred default view. These operations are the same for both Fax Inbound and Fax Outbound reporting.
Switching between views
-
Open the relevant Reporting screen (Inbound or Outbound). (FAX - Reporting - Inbound/Outbound).
-
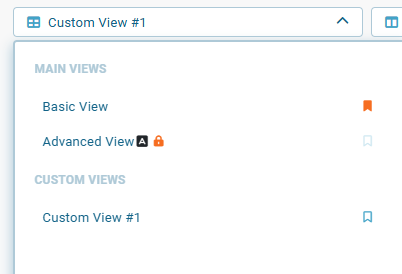
Click the report views dropdown at the top of the table.
-
Select the desired view:
-
Under Main Views, choose Basic View or Advanced View.
-
Under Custom Views, select a saved view created by you or your admin.
-
📌 Advanced View
If the Advanced View is locked, a pop‑up will display information about the service and how to subscribe. For details, see Advanced View.
Setting a view as default
By default, Basic View is displayed each time you open Fax Reporting. To load your preferred view automatically, set it as the default.
You can set a view as default in several ways:
-
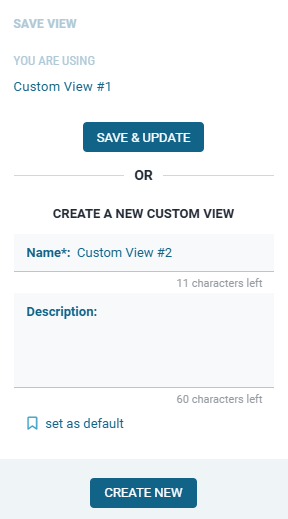
When creating a new view
Activate the Set as default option in the Save View dialog.
-
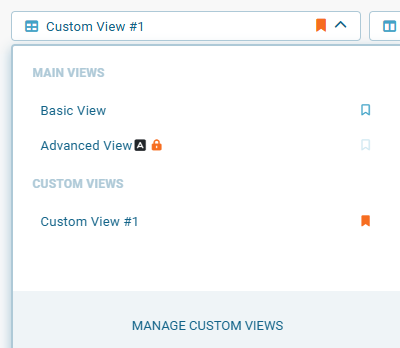
From the view list (dropdown)
Click the flag icon next to the view name. The flag turns orange to indicate it’s the default.
-
When updating a custom view
Click the flag icon while editing the view in the Manage Custom Views window. The flag turns orange to indicate it’s the default.
